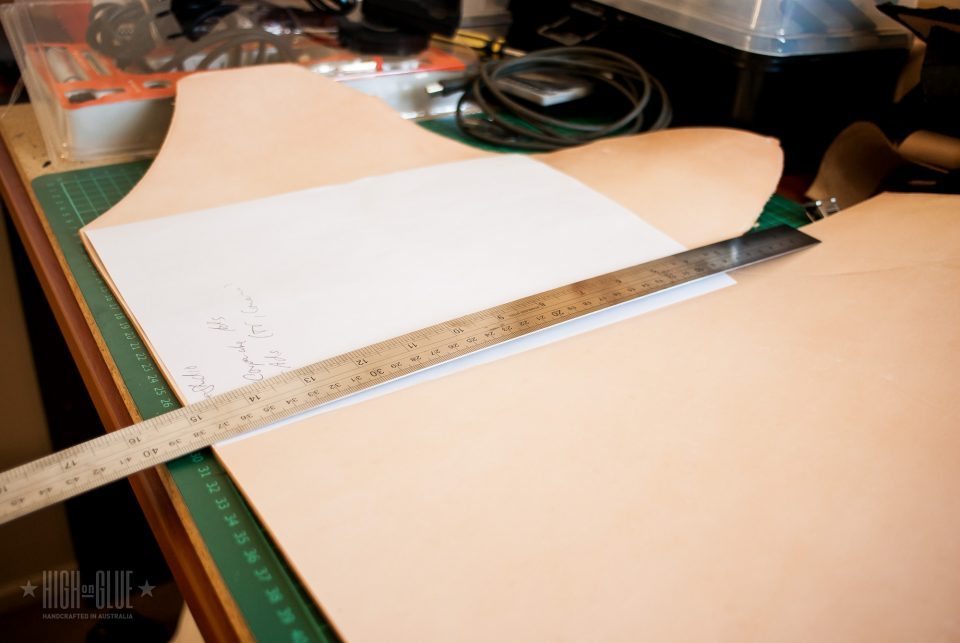
For the main part of the Kindle case (the front and back) you can use 3.6mm thick leather. Anything that’s thicker than 2.5mm will work fine but an extra mm makes the whole case much more rigid and heavy.
Use a standard A4 sheet of paper as a template – I found that the size works great for the Kindle 3.
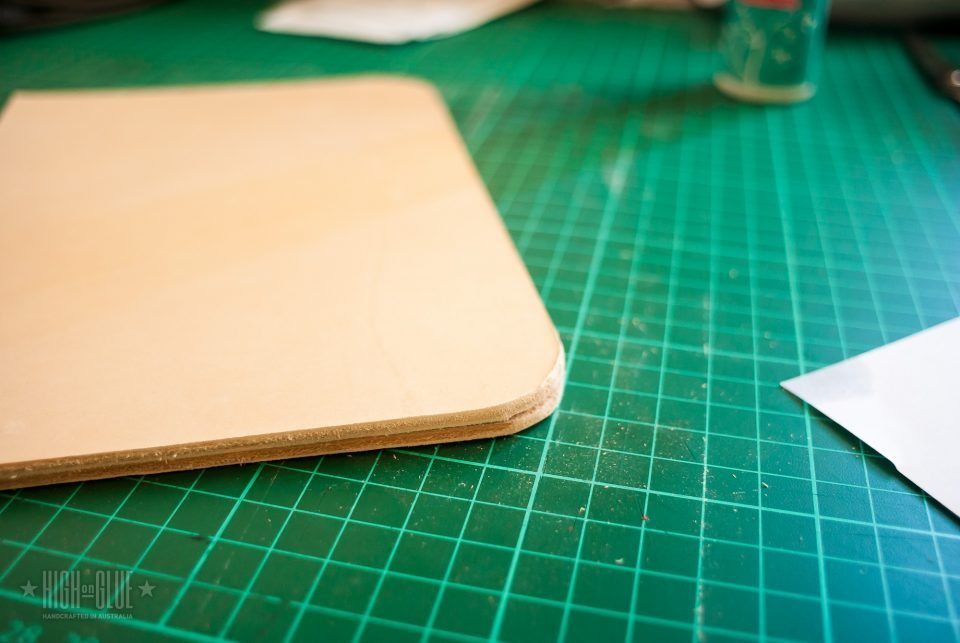
Cutting Corners
Use a round cap (or anything with a good radius that you can find around the house) to mark where you have to cut the corners. You have to cut all 4 corners and try to make them as even as possible.
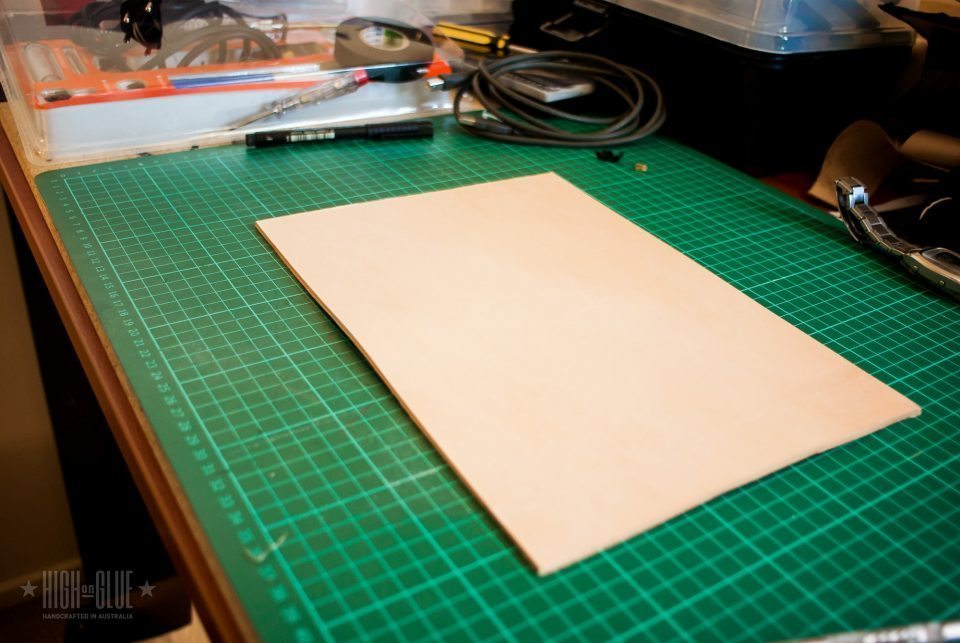
Cutting in Half
Cut the leather in half. We’ll later insert a piece of thinner leather as a spine.
Sanding
Put the pieces on top of each other and sand the sides and corners to even them out a little bit. It doesnât have to be perfect but should be fairly close.
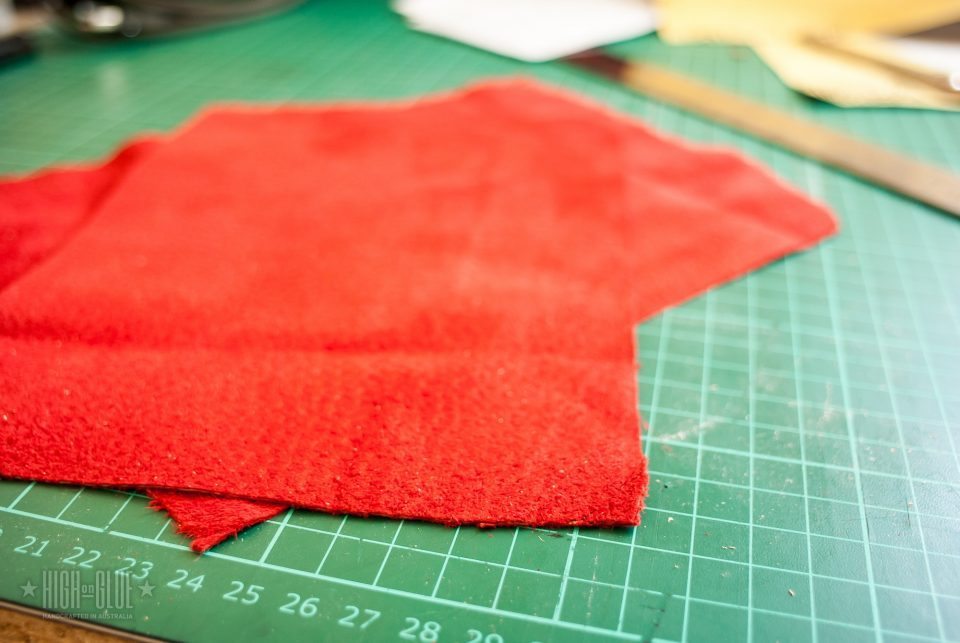
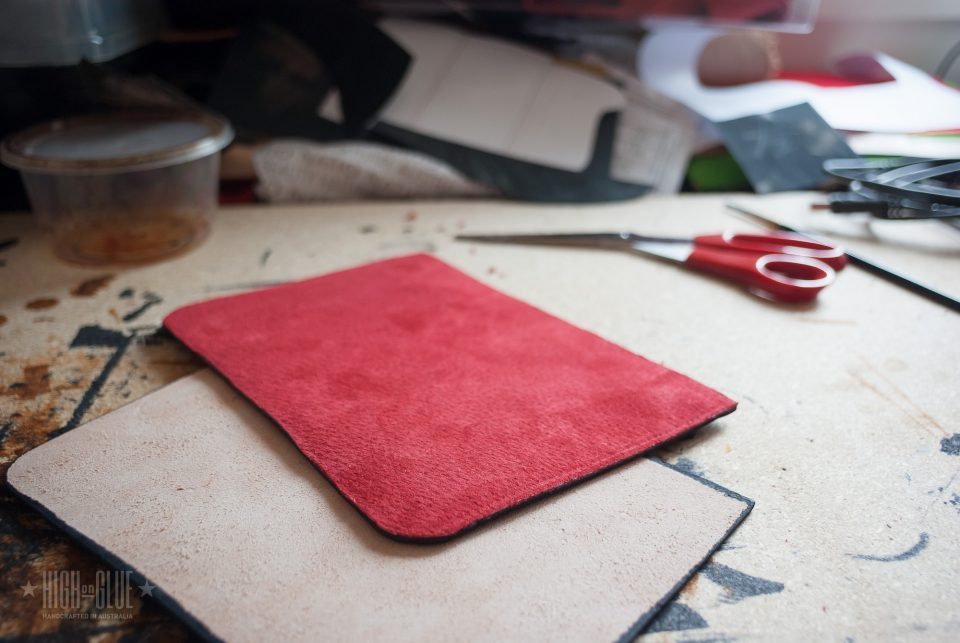
Lining
Loosely cut the lining material. I find it easier to cut the suede leather a bit bigger than I need it and then trim it after I glued the pieces together.
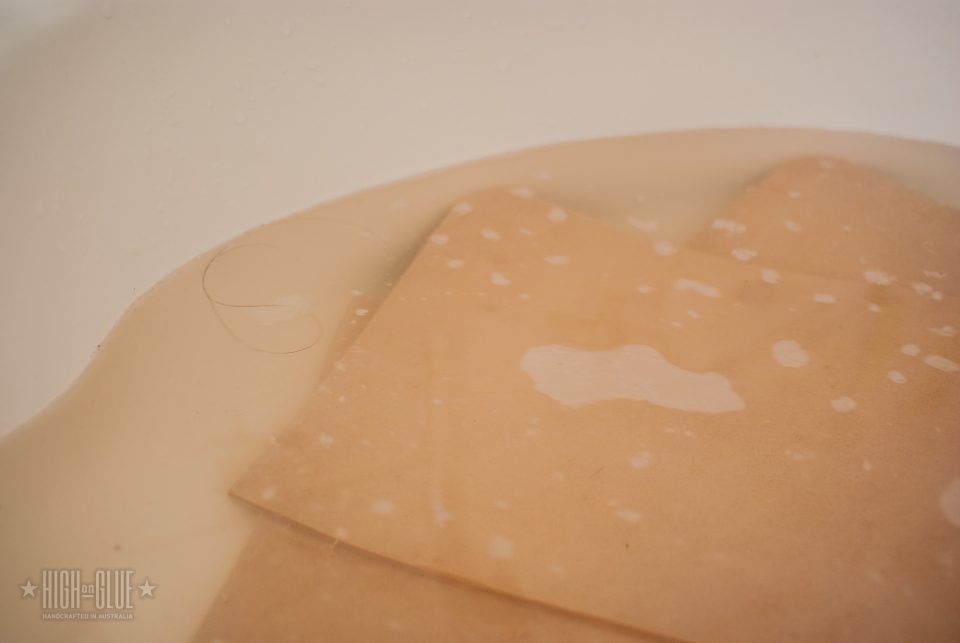
Casing
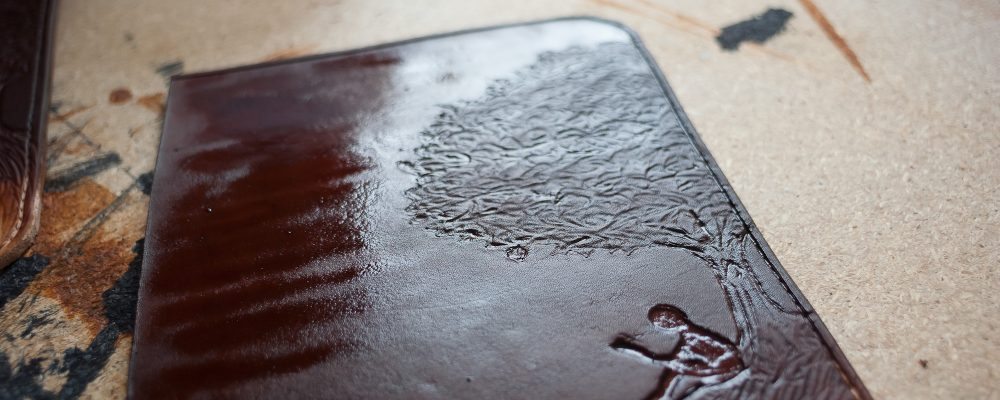
Leave the leather in water for a few hours and get it out and let it dry to make it harder. While it dries it’ll reach a point where itâs almost completely dried through and it’ll be ready for embossing.
Tree Logo Template
Use a printout as a template to transfer the design to the leather. I trace the lines lightly using a Wacom pen (hey! I’m a graphic designer 😀 ). You could get a tracing stylus, too!
Cuts
Use a scalpel to cut the design into the leather. If you have a Swivel Knife, you can obviously use that, but chances are that if you’re reading this, you don’t have all the leather tools at hand.
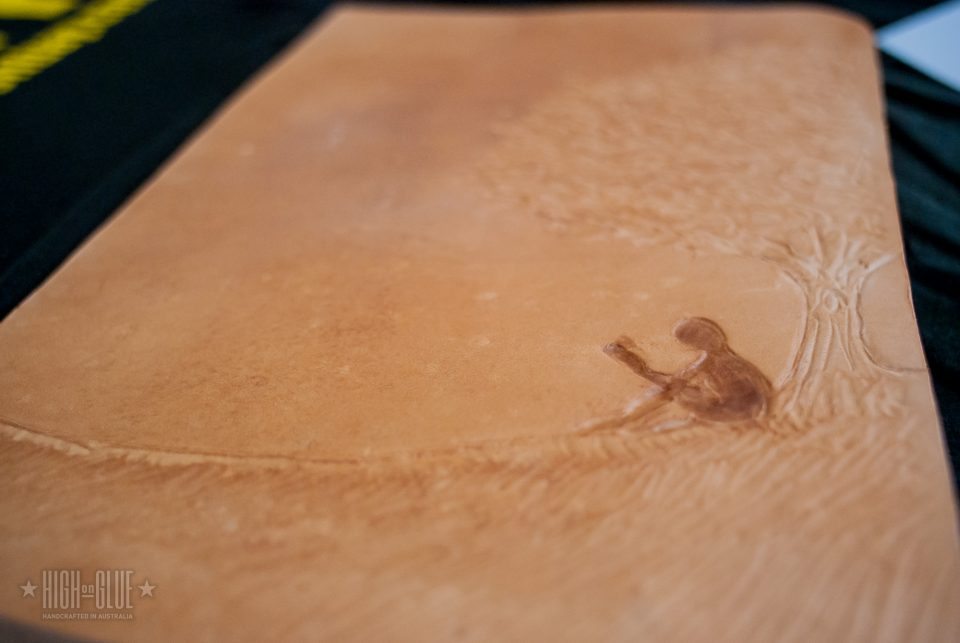
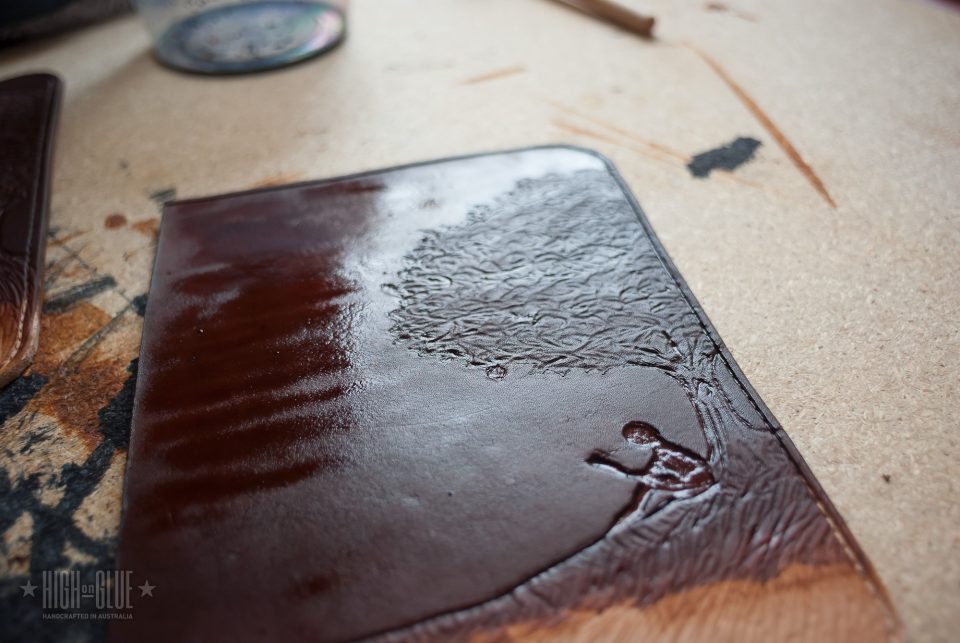
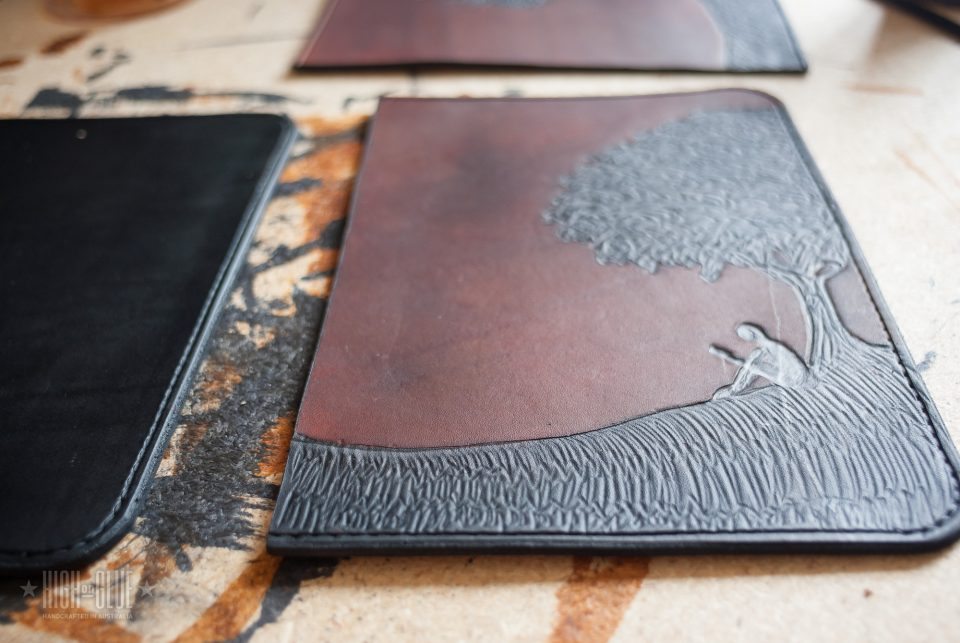
Embossing
Disclaimer: I didn’t use traditional techniques or the proper tools for this! I actually use a Wacom Pen (again) and any sharp or blunt object I can get my hands on to emboss the leather. If you have the proper tools you can make it much more detailed or traditional but I actually like how this gives it a hand drawn look. It’s somewhat charming.
You could start out with the Tandy Leather Basic Set if you prefer to get the proper tools.
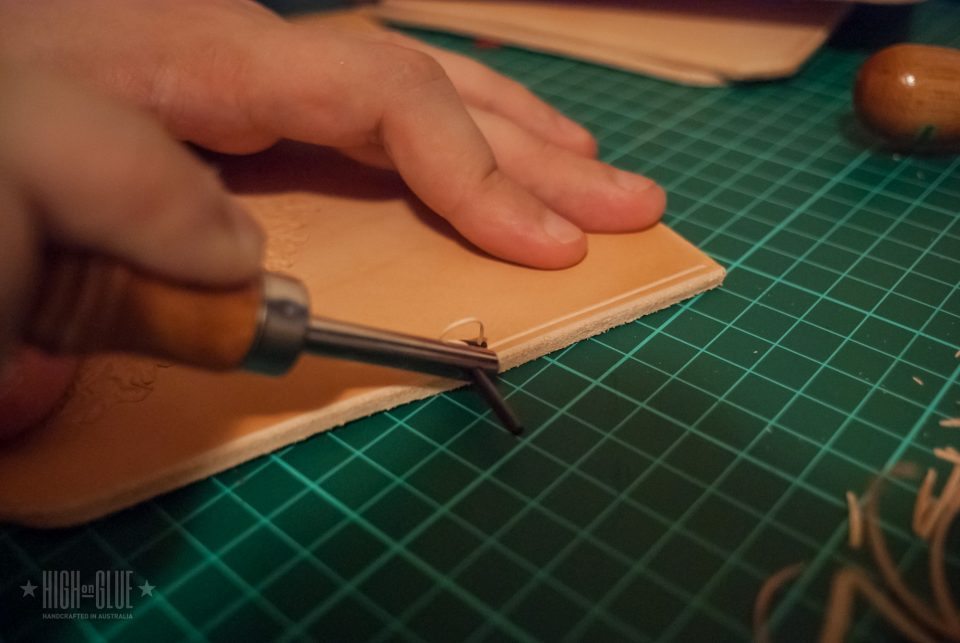
Bevelling the edges
To round off the edges you can use an edge beveller. This will give the case a nicer, more professional looking edge. We’ll refine the edge a bit later.
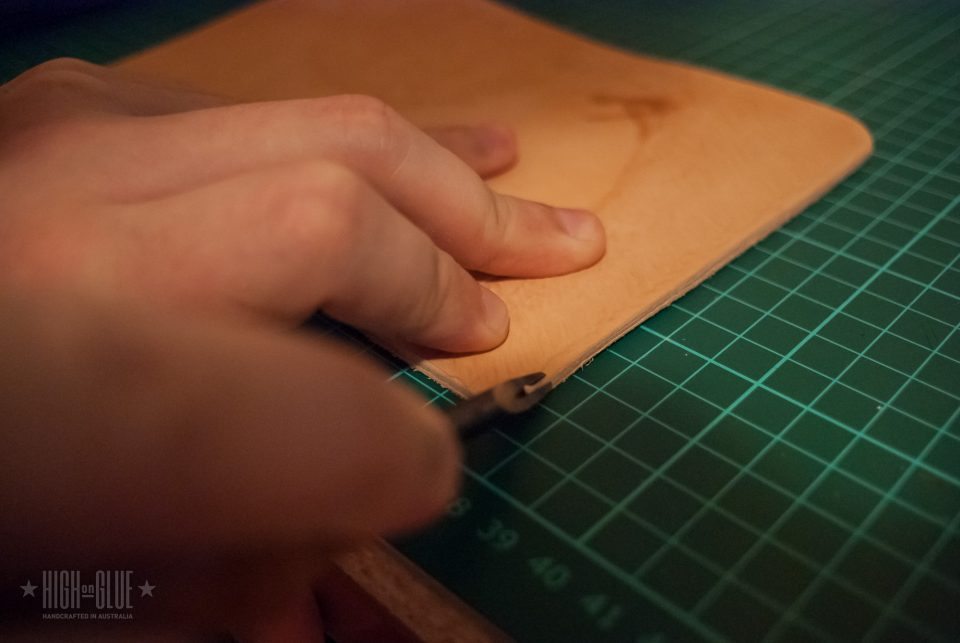
Stitching Groove
Use a stitching groover to create the groove where you’ll sew. Just “slide” it along the edge. You won’t have to groove the side where the spine will be attached. We’ll put some leather on top of that side.
This groove is another small detail that will help set your case apart and it also protects the stitching to make sure that your case will last 20 years even if you’ll buy a new Kindle next year!
Stitch Spacing
Use a stitch spacer (a tool with a “spiky” wheel) to make the markings for your stitches. This will help you to create even and nice looking stitches later on.
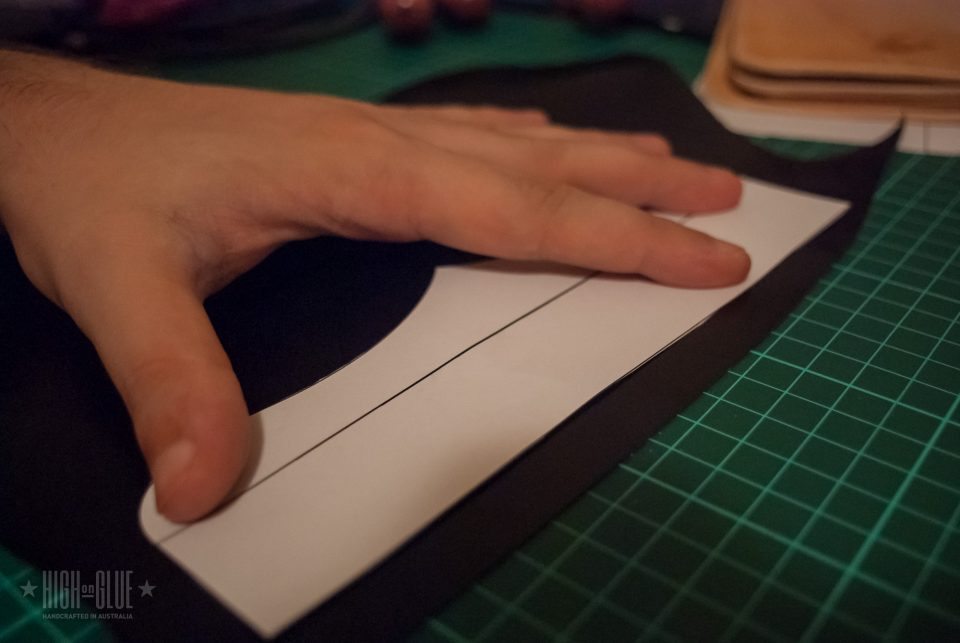
Spine template
Create a template for the spine of the cover and use it to cut a thin but strong piece of leather. I use kangaroo leather because it is very strong and still nice and flexible. But I’m sure that there are other leathers that are strong enough for years of abuse.
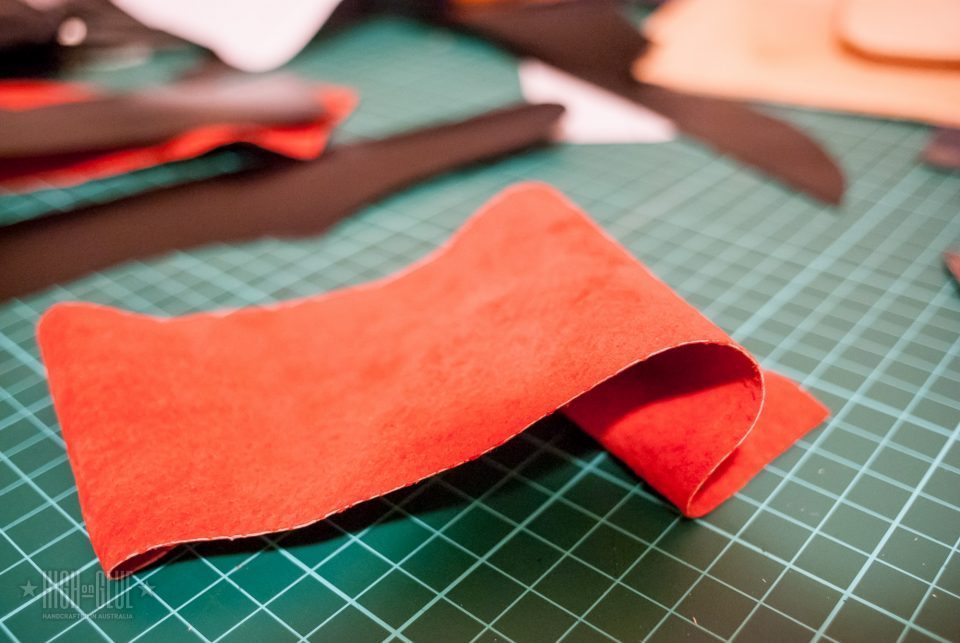
Lining
We’ll need the lining for the spine part that we just cut out. Cut a piece that’s larger than the spine and you’ll be able to trim that once you glued it in place.
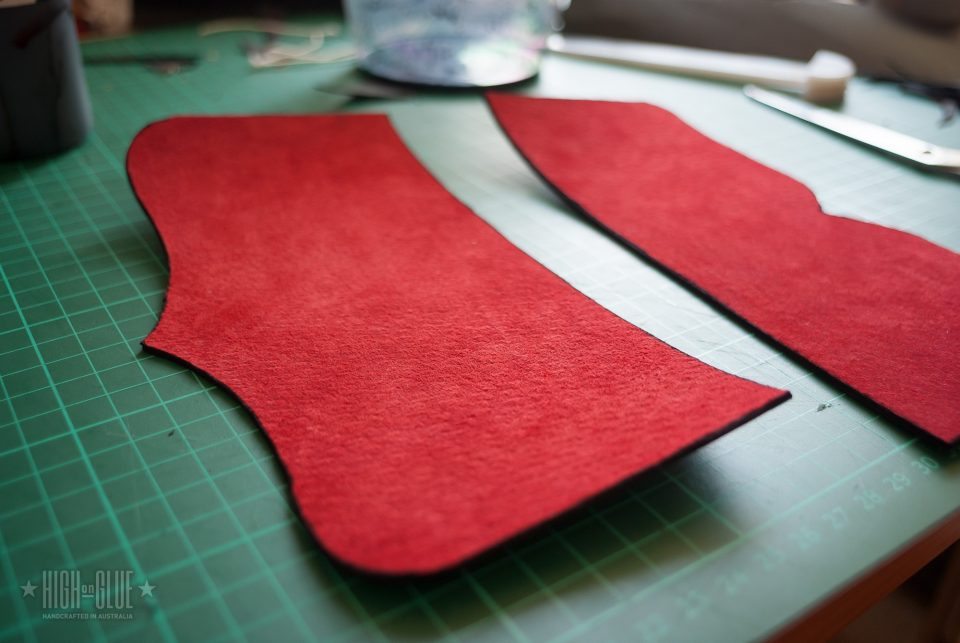
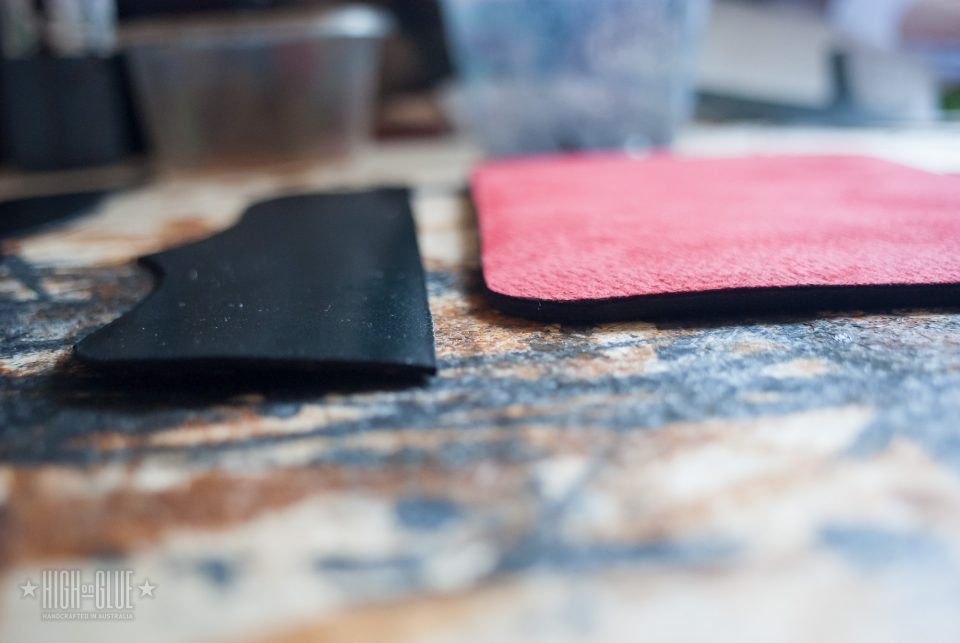
Spine Refinements
Here you can see the finished piece for the spine. I glued the lining on using spray adhesive and then I cut the excess lining off. The suede lining I used had a white centre so I decided to hide that by dyeing the edges black.
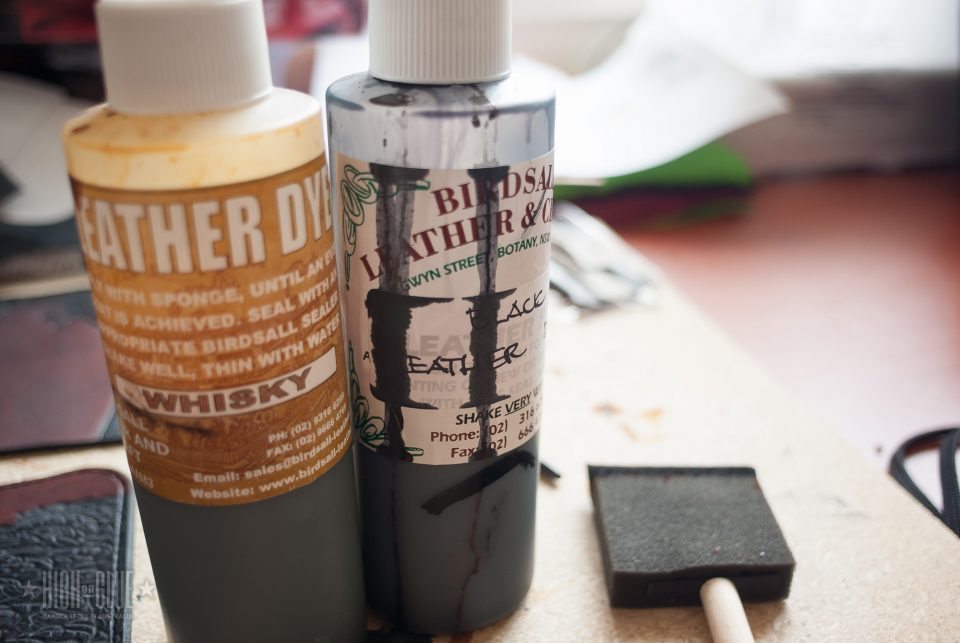
Leather Dye
I use 2 dyes for my Kindle cases: Whiskey (Brown) and Black.
Glue Lining
Once the covers are dry, you can glue on the lining using spray adhesive.
Refine edges
Cut the excess leather off and dye the sides of the lining black. Sponge brushes work very well for dyeing edges or larger areas.
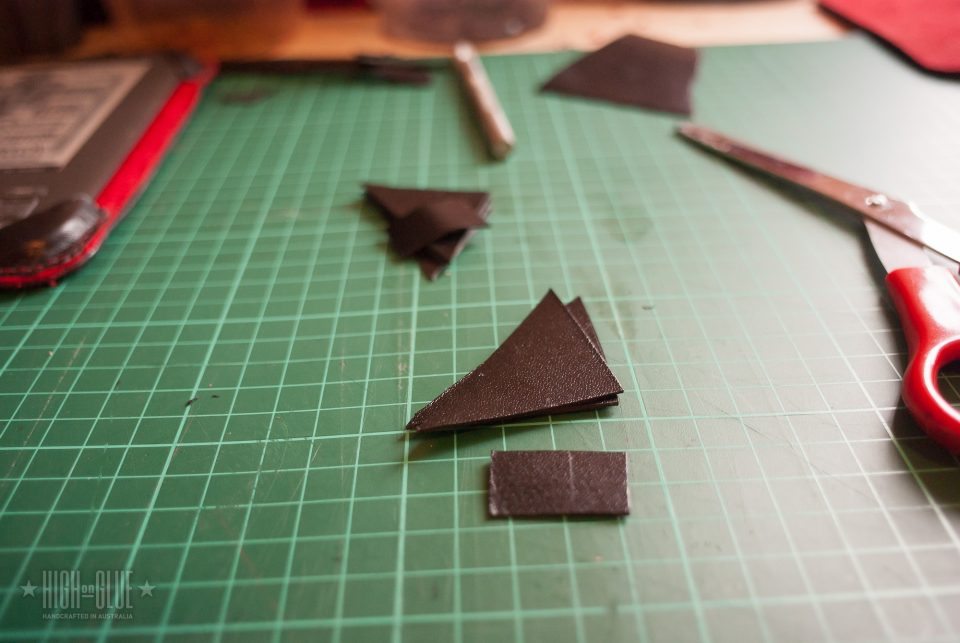
Cut 3 corners and 1 rectangle
Cut 3 corners (from around 4.5cm squares) and one small rectangle from a piece of kangaroo leather
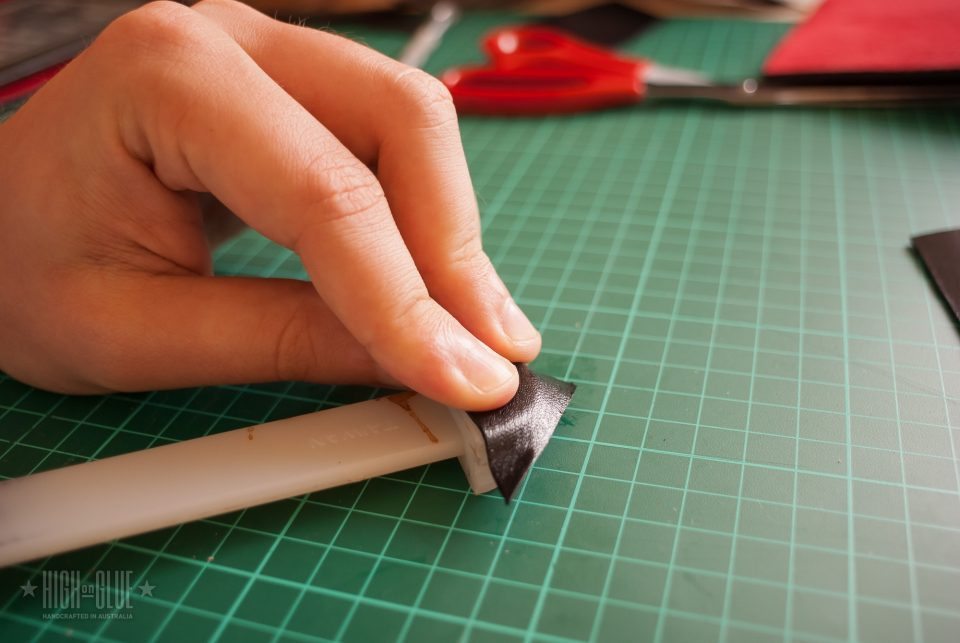
Shape Corners
Slightly stretch them into shape using a bone folder.
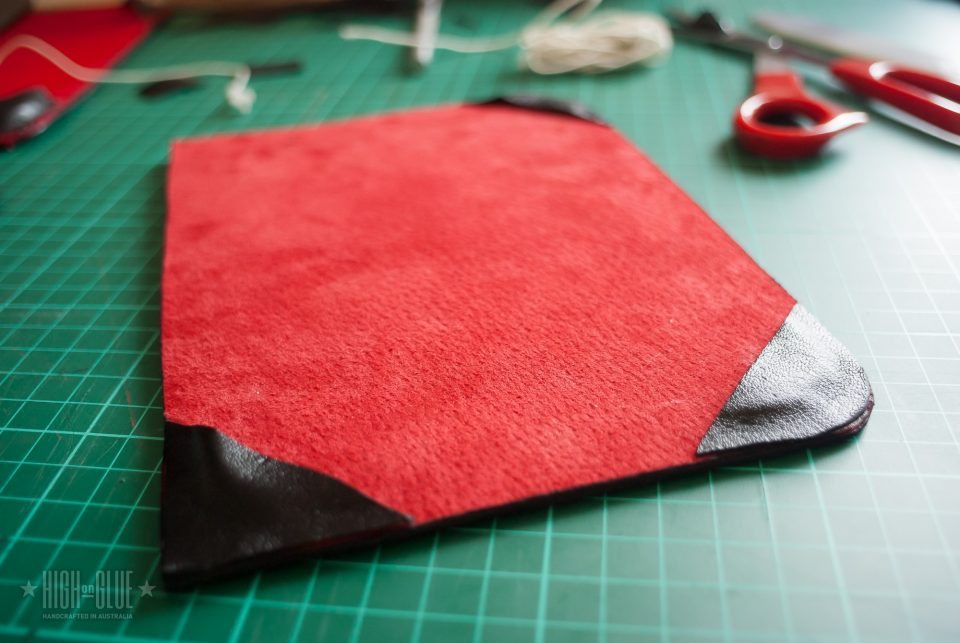
Glue corners in place
Glue the corners on the inside cover and cut off the excess leather at the rounded corners.
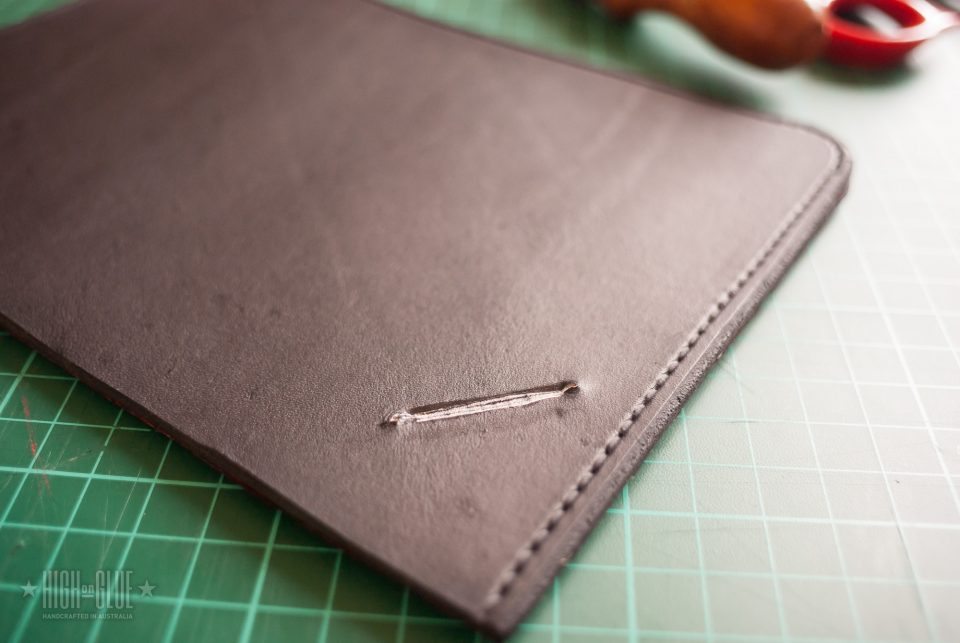
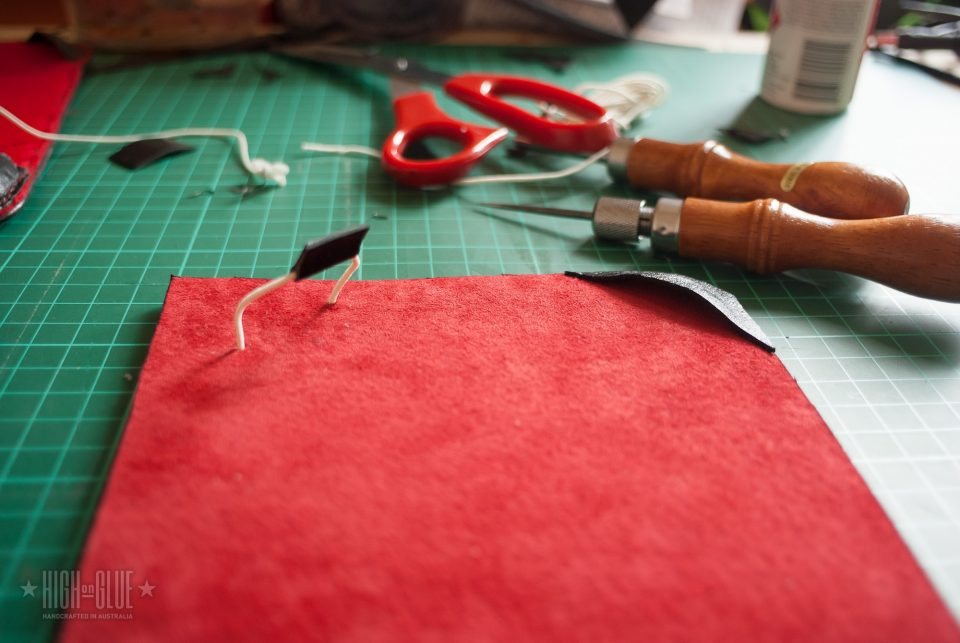
Punch holes and create space for rubber band
Punch holes at the top left of the back cover and create a space for the rubber band.
Add rubber band and leather rectangle
The rubber band will make it possible to put the Kindle in the case and the leather rectangle makes it easier to lift the rubber band and it helps keeping it in place on the device.
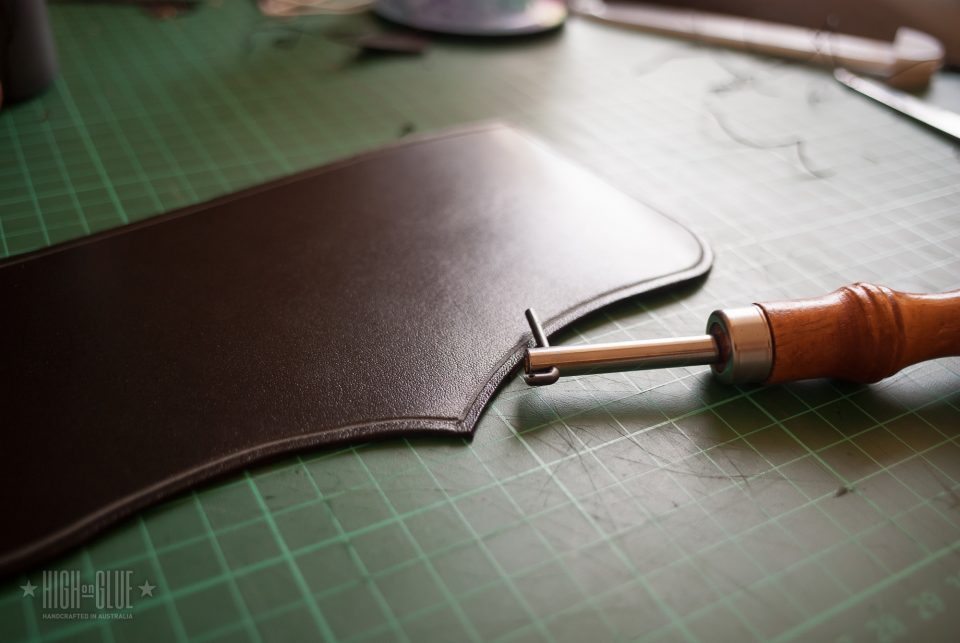
Add stitching groove to spine leather
The spine needs a stitching groove as well.
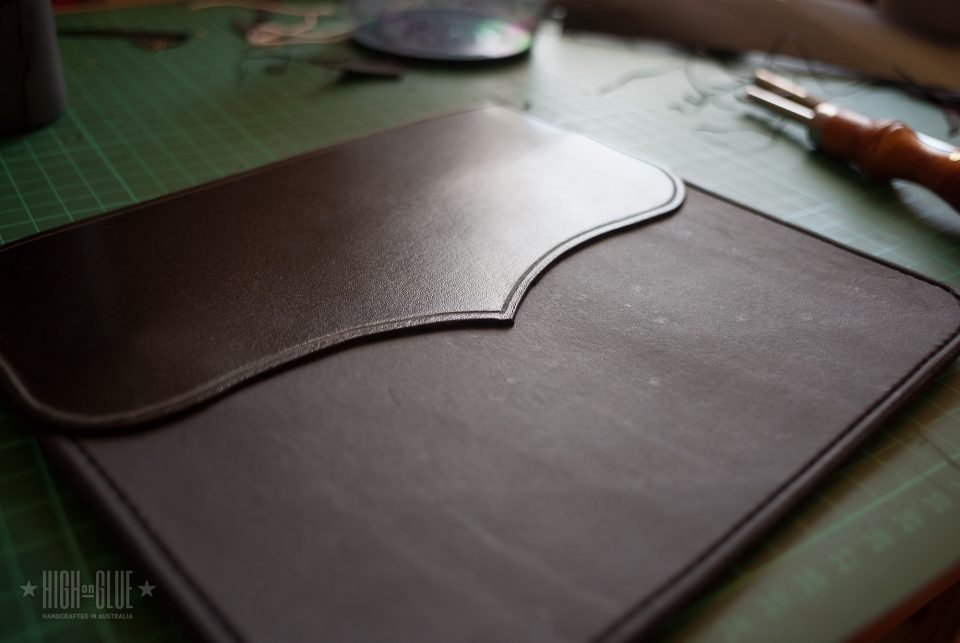
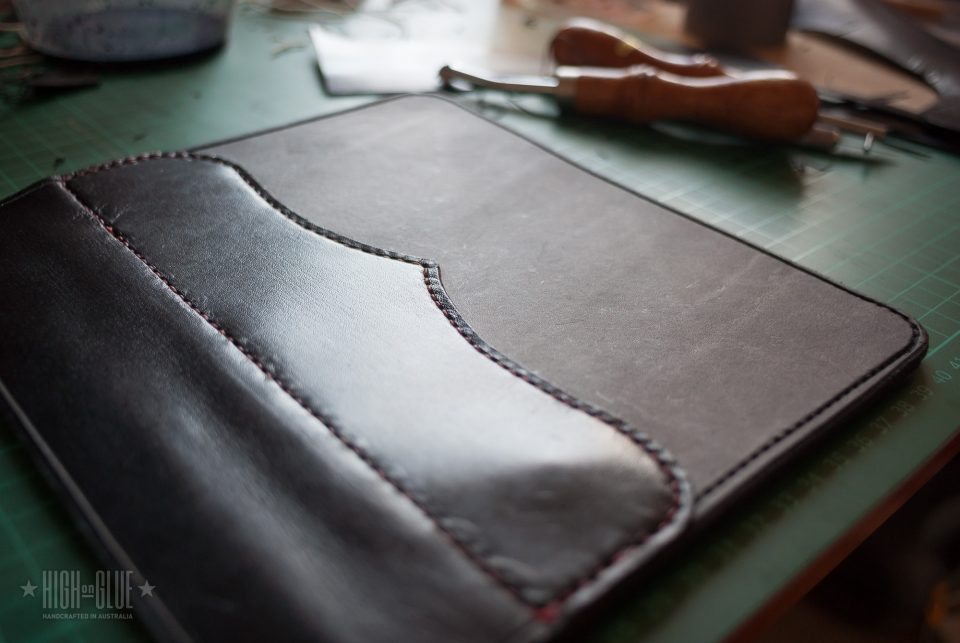
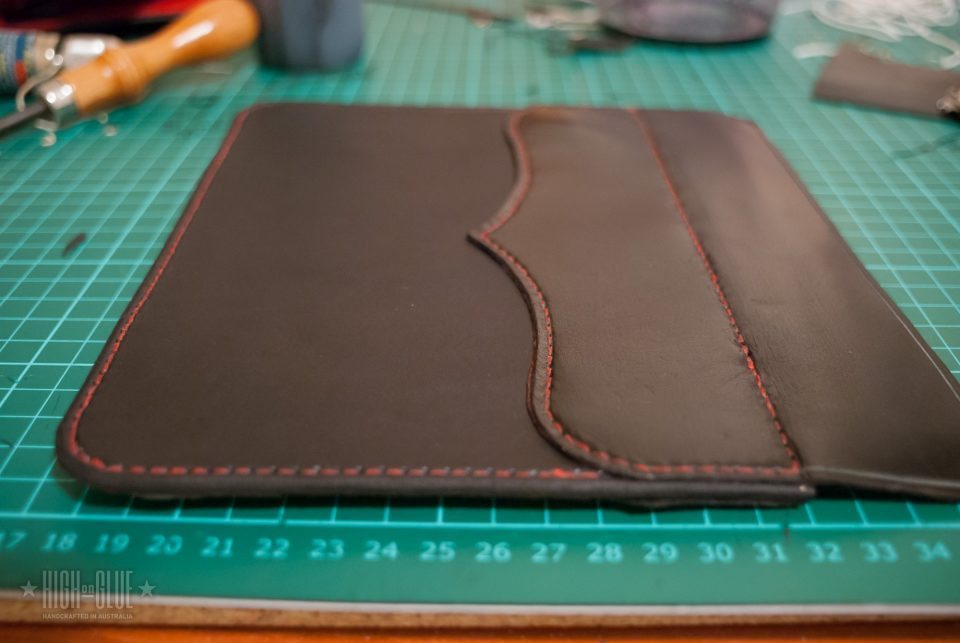
Glue spine leather in place
Glue the piece of leather in place. It will cover the back of the rubber band and will also help make the back cover look a bit more interesting depending on what shape you’re going for.
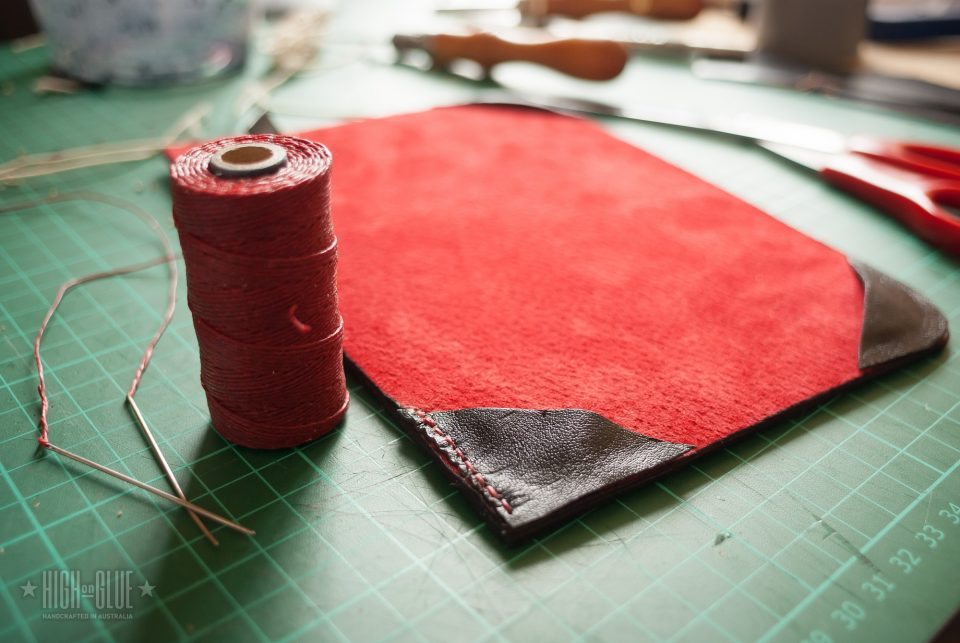
Sewing
I use waxed thread, 2 needles (similar to these) and a sewing awl to sew these pieces of leather together.
Check out my hand sewing tutorial if you don’t know how to sew a project like this.
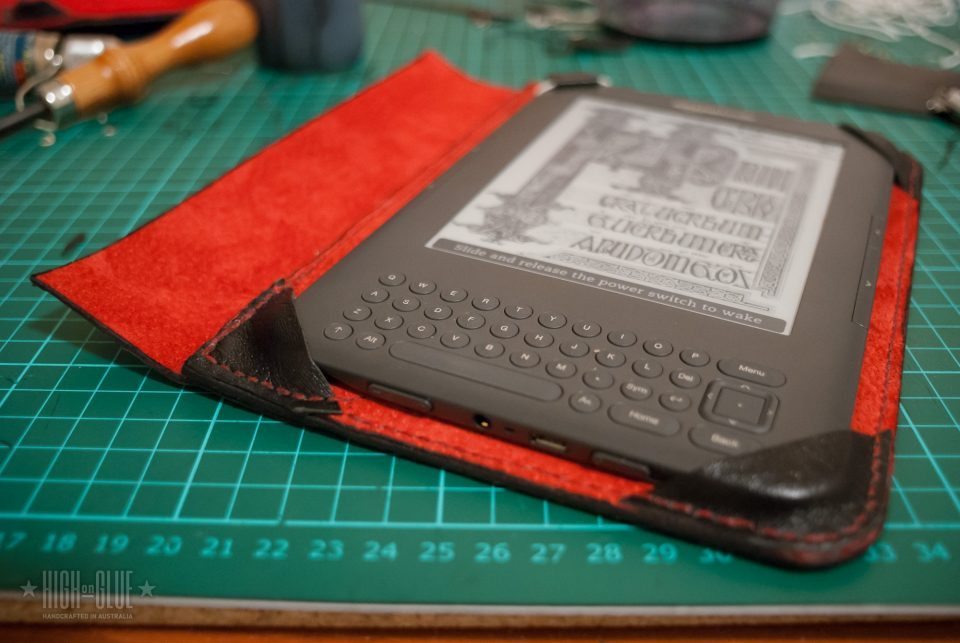
Does it fit?
The corners are now also in place and you can stretch them nicely to make the kindle fit
Thanks for a great tut! I’m starting stitching tomorrow on my own DIY leather Kindle cover. I’m going to wait to decorate it until I’m finished with assembly, then I plan to doodle with 3D paint pens. Not too tough for a first bookbinding project though I did puzzle for a while on the mechanics of the spine.
And here it is, sans decoration as yet.! Not terribly professional looking but for a first try not too bad I think. I have in mind several changes for the next model, which I’ll undertake when my thumbs recover somewhat from this experiment!
That’s very cool! I love seeing a different take on this cover design! I like the big stitches and overall feel of it. Only bummer is that you’ll probably have to take it out of the cover to access the buttons. But I’m sure you now know what the problems are with that part of the design and you’ll be able to improve on that for the next one!
Also, 5 hours is an incredibly good time for this!!! It took me more than 10 hours for the sewing alone for mine. It’s very tedious work especially with 4mm thick leather
Thanks for the kind words! For the next model I have in mind a different spine construction method, as well as shorter stitches using finer thread or even natural sinew or gut. Like I need a new hobby 😀
Hi Attilaacs. Great case! I wish I had the knowledge and tools to make one for myself. Would you consider to sell this one? If yes, email me with your options.
nice one, Aphro! 😀
Did you put some type of cardboard in between the 2 layers of leather? I like the black & purple colour combination.
A tip for the corners: It’s probably easier if you use thinner leather for the corners so even if they cover half of a button, you can still press it and it doesn’t feel too awkward. 🙂
Thanks!
I used heavy chipboard as the stiffener for the two covers, and black synthetic sinew for the sewing up. I also bought a leather needle for my sewing machine and, after the glue dried sufficiently, I used the old Singer to “mark”the seams. Result: regular stitch lengths (mostly) and a much easier time with the sewing.
I’m quite pleased with how this one came out. 😀
Hi Attilaacs. The case looks too cool. Did you make any more? Even i am interested in buying it 🙂 Would you consider to sell this one? If yes, email me with your options.
Hi Khoa, as far as I know you can’t do that. To get logos and designs onto artificial leather, you’d probably use something like a hot stamp or foils. The leather used here is very different.
Is the spine only glued to the back cover or is it actually sewn in? I’m thinking just glued? I don’t see how this will stay? Thanks! I can’t wait to start ☺️


wow , great job!
its really nice…
Thanks for a great tut! I’m starting stitching tomorrow on my own DIY leather Kindle cover. I’m going to wait to decorate it until I’m finished with assembly, then I plan to doodle with 3D paint pens. Not too tough for a first bookbinding project though I did puzzle for a while on the mechanics of the spine.
That’s great! I’d love to see your finished cover. It would be great if you could post a link to it here once you’re finished
And here it is, sans decoration as yet.! Not terribly professional looking but for a first try not too bad I think. I have in mind several changes for the next model, which I’ll undertake when my thumbs recover somewhat from this experiment!
http://www.flickr.com/photos/36884861@N08/5628315495/in/photostream
That’s very cool! I love seeing a different take on this cover design! I like the big stitches and overall feel of it. Only bummer is that you’ll probably have to take it out of the cover to access the buttons. But I’m sure you now know what the problems are with that part of the design and you’ll be able to improve on that for the next one!
Also, 5 hours is an incredibly good time for this!!! It took me more than 10 hours for the sewing alone for mine. It’s very tedious work especially with 4mm thick leather
Thanks for the kind words! For the next model I have in mind a different spine construction method, as well as shorter stitches using finer thread or even natural sinew or gut. Like I need a new hobby 😀
Hi Attilaacs. Great case! I wish I had the knowledge and tools to make one for myself. Would you consider to sell this one? If yes, email me with your options.
Thanks Juris! I sent the email earlier
I’m still not working at your high standard of craftsmanship, but I think my second effort shows marked improvement over the first:
http://www.flickr.com/photos/36884861@N08/sets/72157627332175230/
My son is now in possession of the first DIY Kindle cover (see above), this one is mine. Until I make another better one, anyhow 😀
nice one, Aphro! 😀
Did you put some type of cardboard in between the 2 layers of leather? I like the black & purple colour combination.
A tip for the corners: It’s probably easier if you use thinner leather for the corners so even if they cover half of a button, you can still press it and it doesn’t feel too awkward. 🙂
Thanks!
I used heavy chipboard as the stiffener for the two covers, and black synthetic sinew for the sewing up. I also bought a leather needle for my sewing machine and, after the glue dried sufficiently, I used the old Singer to “mark”the seams. Result: regular stitch lengths (mostly) and a much easier time with the sewing.
I’m quite pleased with how this one came out. 😀
Awesome tutorial.
I used it as inspiration to make a tablet leather case. It’s not a kindle, but still ;D
Here it is, if you’re interested:
http://tfeld.deviantart.com/art/Adam-Leather-Case-245880437
Hey TFeld, that’s an awesome case! I especially love your choice of design for the spine and the leather band wrapped around it. Thanks for sharing!
Hi Attilaacs. The case looks too cool. Did you make any more? Even i am interested in buying it 🙂 Would you consider to sell this one? If yes, email me with your options.
I am very impressed. I would like to learn how to stitch leather, thanks for inspiring me.
i love this i think i can now teach ma boys
Thanks so much for sharing! It’s beautiful!
can u use artificial leather for tooling?
Hi Khoa, as far as I know you can’t do that. To get logos and designs onto artificial leather, you’d probably use something like a hot stamp or foils. The leather used here is very different.
Is the spine only glued to the back cover or is it actually sewn in? I’m thinking just glued? I don’t see how this will stay? Thanks! I can’t wait to start ☺️
Hi Naomi, it’s actually sewn in so it’s pretty sturdy. The cover has outlived the Kindle which recently died after almost 10 years of use.