In this tutorial I will show you how to make an iPhone sleeve out of an old leather bag without having to buy many tools. It’s a starting point if you want to work with leather but you’re not sure if you want to spend hundreds of dollars on tools and materials.
Note: for in-depth hand sewing instructions, please check out my hand sewing tutorial.
The end result is this simple iPhone case:
Let’s get started:
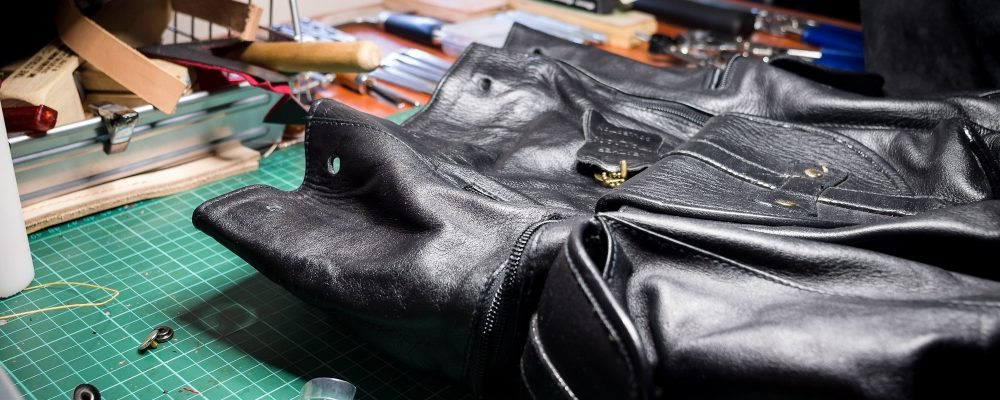
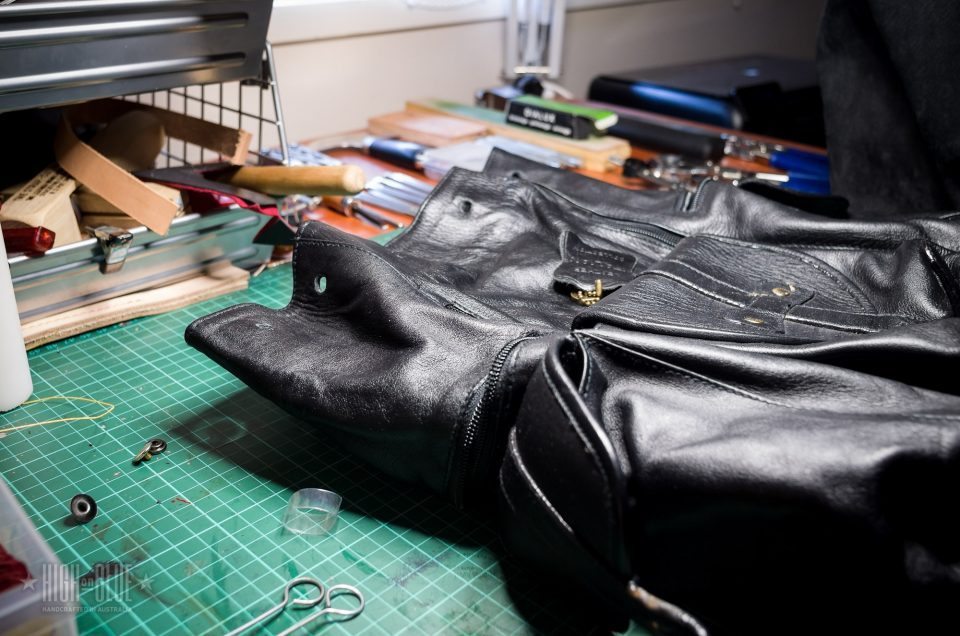
Old bag
Find an old bag, jacket or other leather item you don’t use anymore.
Cut along the seams
Cut off all hardware and then cut along the seams.
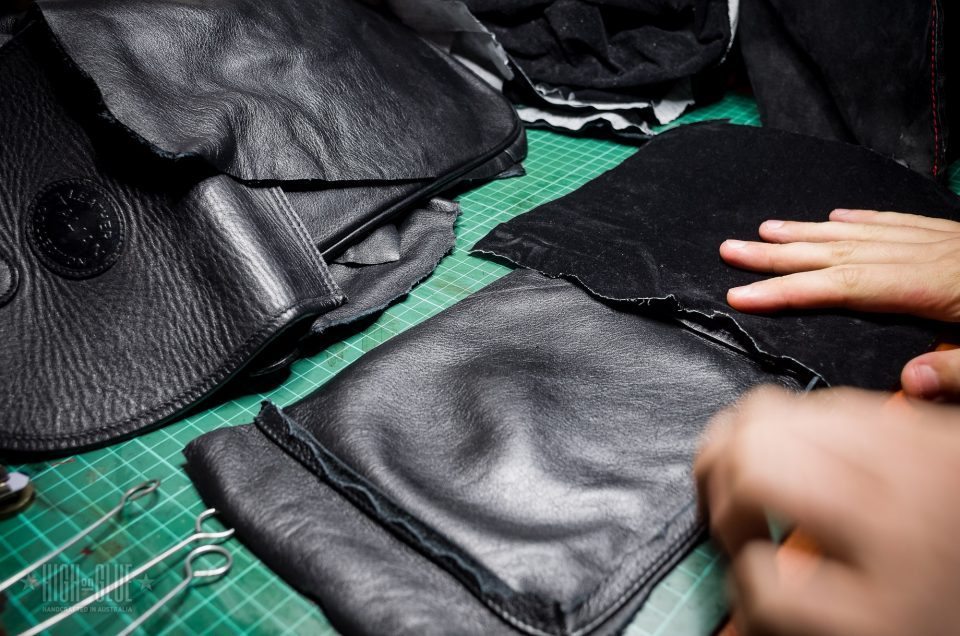
Separate the lining
If there’s lining inside the bag, separate and remove it.
Lining and front piece
Here are the 2 pieces I’m going to use: the lining and the front piece of the bag
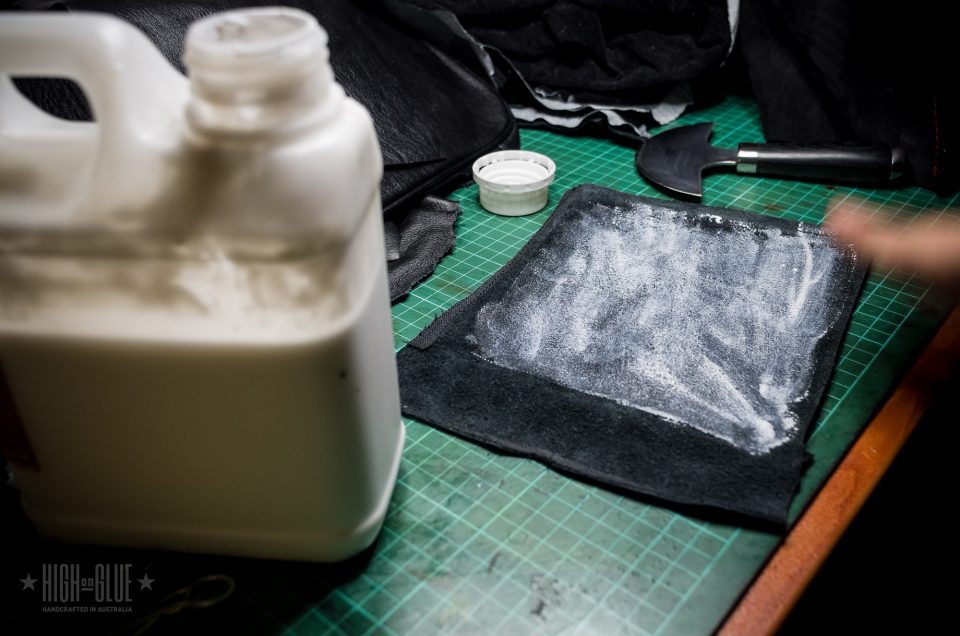
Glue lining to leather
Apply glue to the back of the front piece (the flesh side) and glue the lining on.
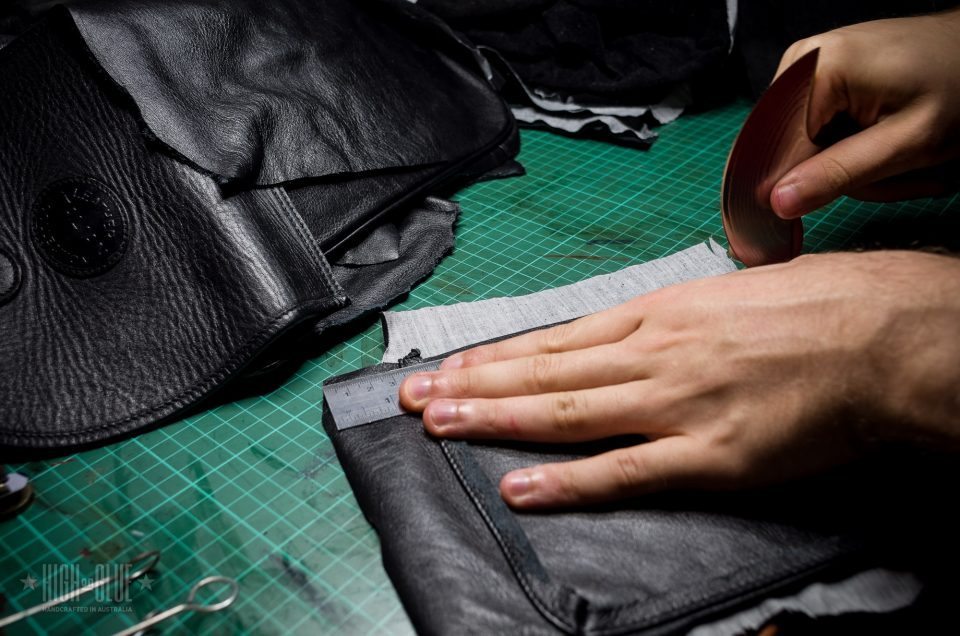
Cut pieces
Cut out the main piece. The piece I cut for the iPhone 4 was around 14.4cm by 13.2cm. Use the phone you’re going to make the cover for as a guide by wrapping the leather around it and mark it.
Cut corner
Fold it in half and cut a rounded corner on one end.
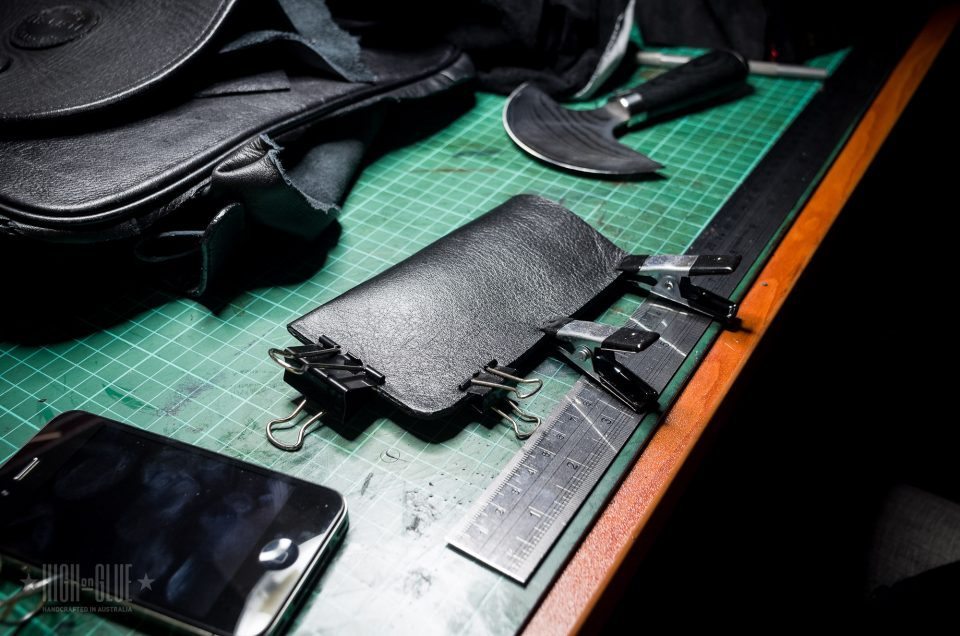
Glue edges in place
Apply some glue to the inside of the edges and glue the piece in place. This will make sewing much easier and keep the leather aligned.
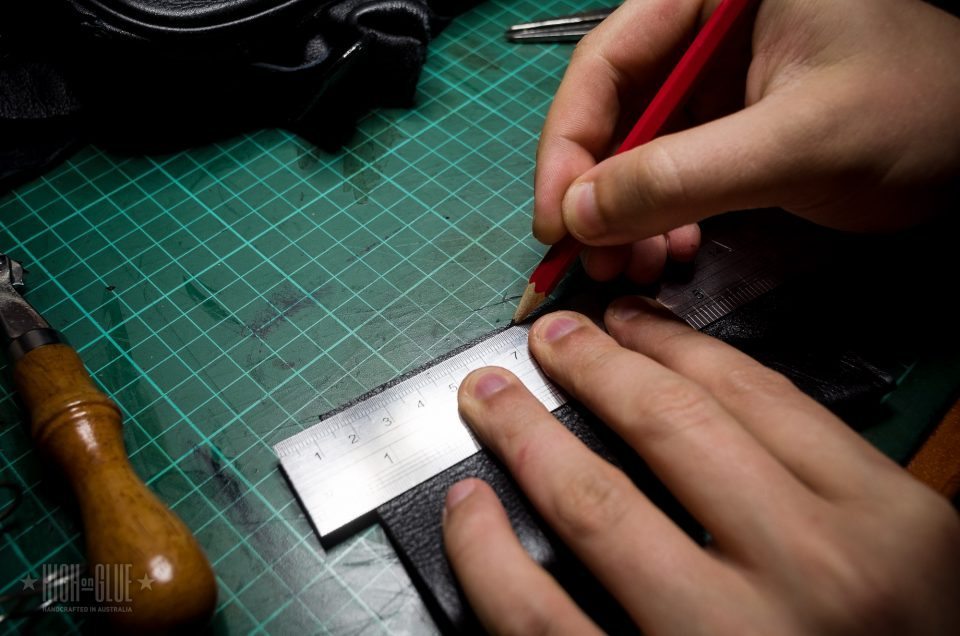
Mark the stitches
Use a ruler and any sharp object that you can find (anything that you can use to leave a mark on the leather) to mark each stitch you’re going to make. Try to keep a consistent gap between each stitch.
Stitch markings
Close-up of my markings (ideally you would use a stitching spacer to speed up this process).
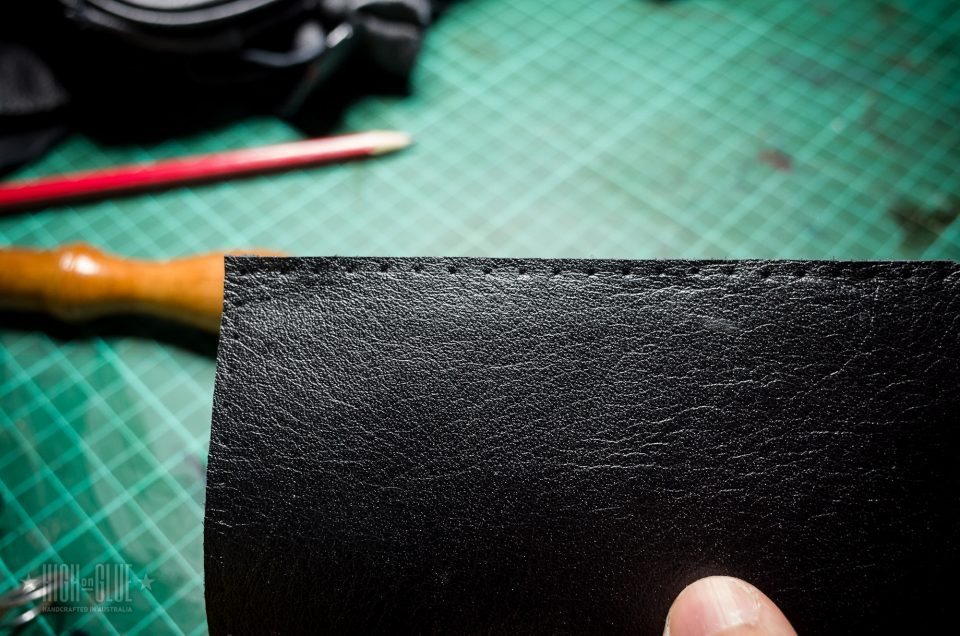
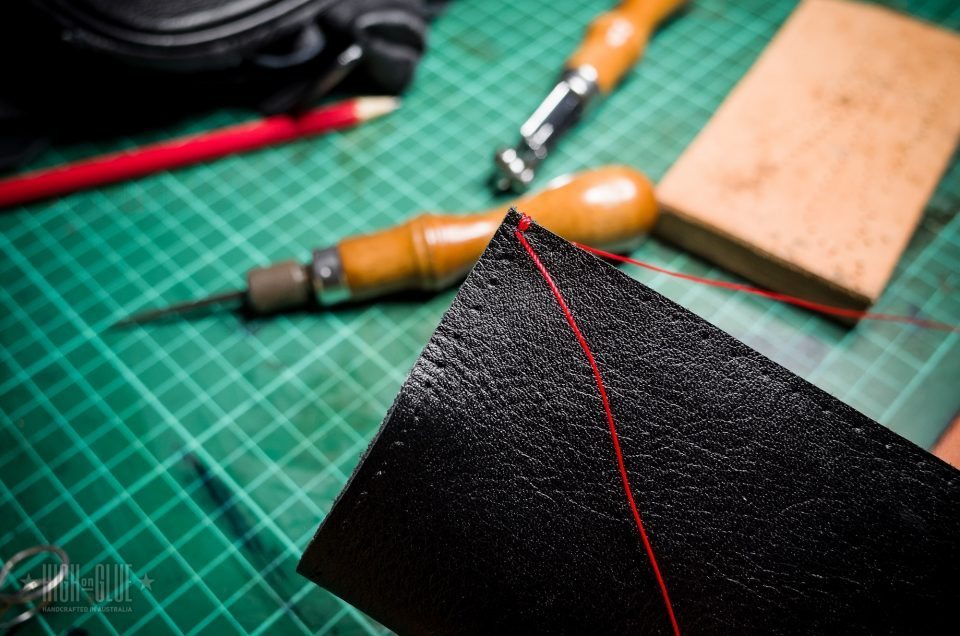
Sewing the top
Start sewing around the top opening.
Sewing
Sew around the top
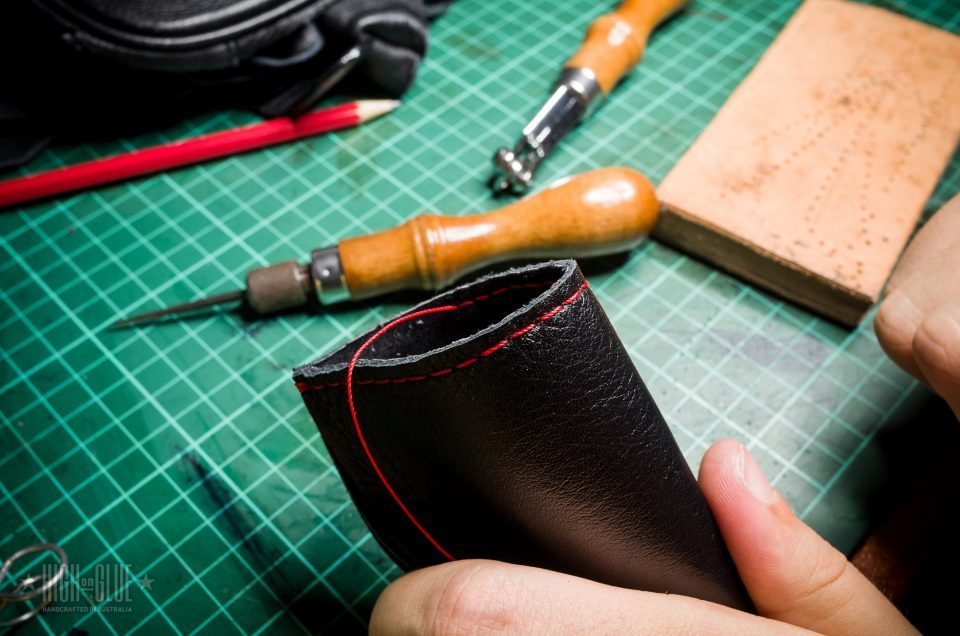
Loop thread
Once you’re all the way around, you can loop the thread vertically before sewing along the long edge of the case.
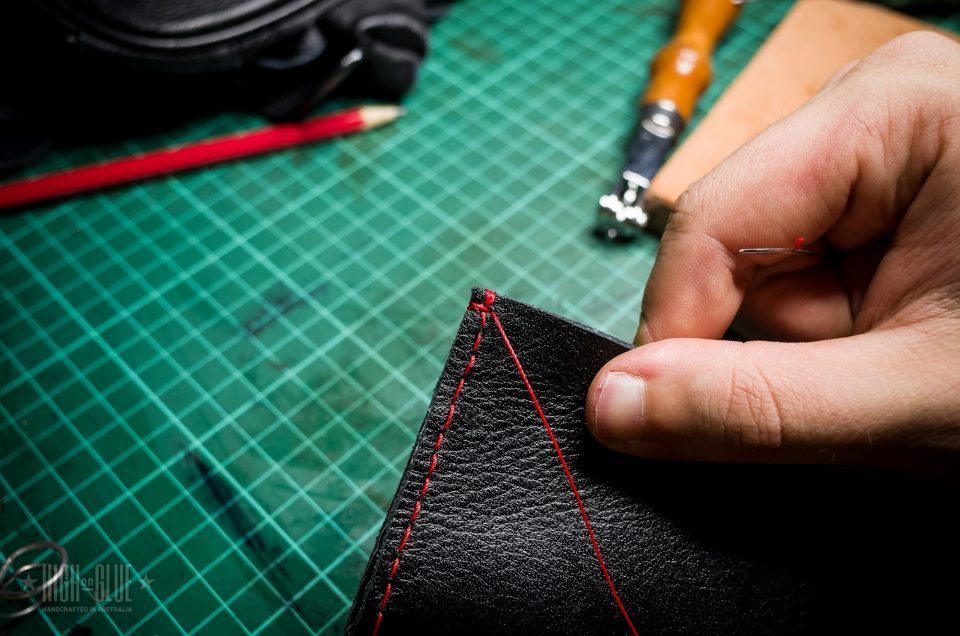
Backstitch
Backstitch a couple of stitches
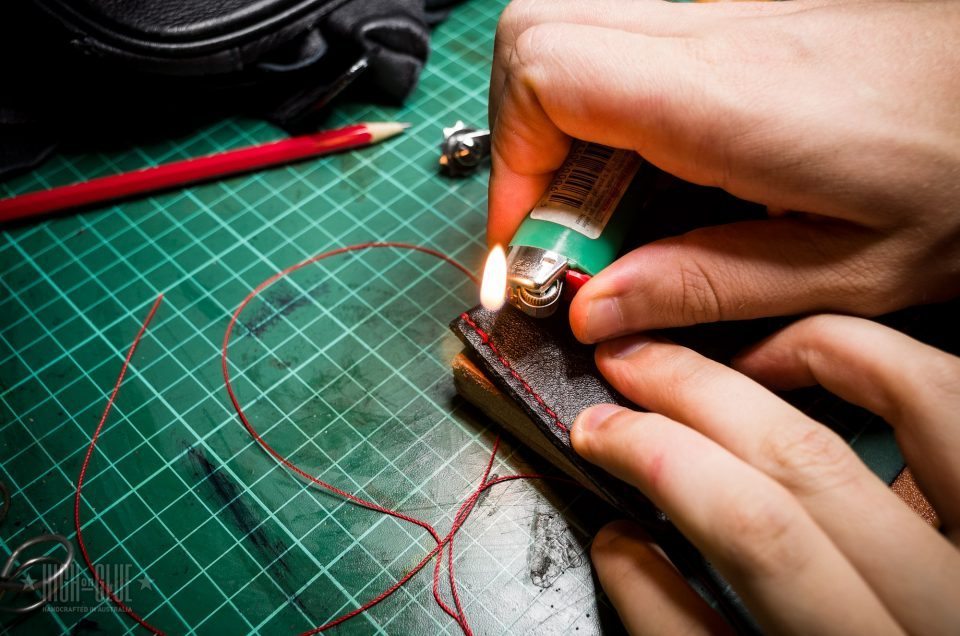
Melt the thread ends
Cut the thread and melt the ends.
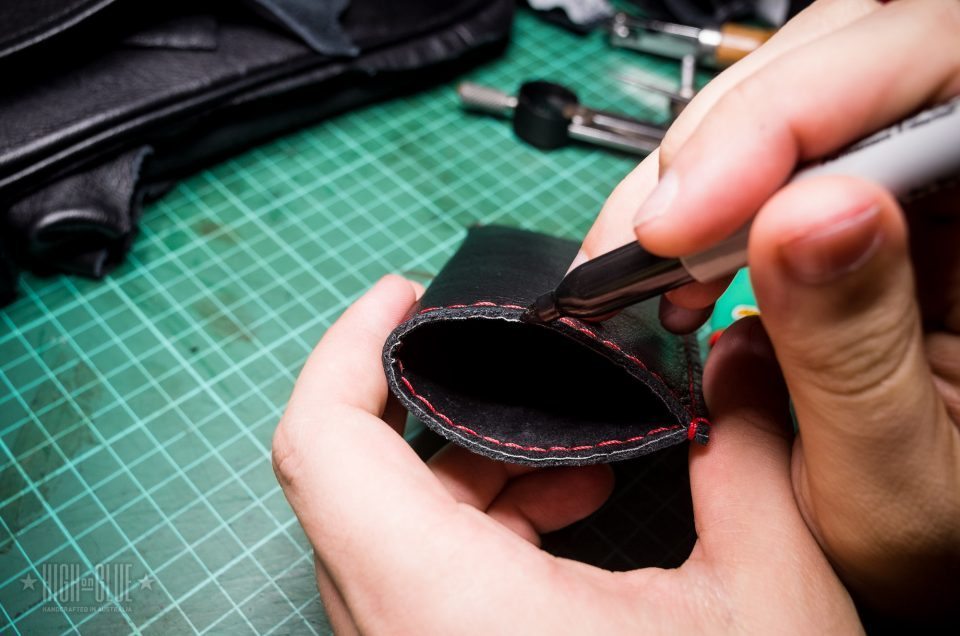
Darken the edge
If your lining has a white edge, you can use a marker to paint it black (in case you don’t have any black dye).
DONE!
Related
16 thoughts on “How to start working with leather on the cheap!”
If you have a steering wheel cover,and it is very thick, how can you stretch it, to put it on. Is there an oil,or liquid i could use to stretch it, to pull it on the steering wheel ?
It’s most likely already sealed and treated, so I’m afraid that oils or water won’t penetrate it and make it stretch more. I don’t know if there is a way to make this go on much easier. Sorry
Usage. Leather tends to stretch to fit – just don’t secure the ends of the tightening cords too firmly, you will hopefully have slack to take up once it settles on.
Best thing to do is set it in the sun for a little while, then it will loosen itself up enough to let it stretch. Heat expands, cold contracts. Simple physics 😀 Your welcome. It works every time!
hi sorry to bother you you seem to know a lot about Leather work.
Can i ask could you advise what tools i need to get started i am disabled and very board stuck in day after day and would
like to have a go at this i am not rich but can afford a few tools but am really interested
Thanks
Hi Kevin,
it depends on what you’d like to make. You can start out with only a handful of tools (something to cut the leather, a couple of needles and some thread) and add more once you made a few things. If you’re having trouble with certain movements you might find it easier to cut leather with a rotary cutter. Using a stitching horse or stitching pony would also help to make it easier if you want to do a lot of sewing. Maybe you can find someone with a workshop who can help you to make one if you can’t buy one. There are plans available around the web. Hope that helps. Let me know if you’re stuck with anything and I’ll try and help out
In this one I was using a generic PVA glue. You can use all kinds of contact adhesive, contact cement or similar. Most glues in a craft store will also do the job (check the label). I find that it’s cheaper to get them from the hardware store, though.
Not sure about the sewing machine. I have seen people using a domestic machine for thin leather but I haven’t tried it. If you’re making something small, you could try hand sewing?
I use a domestic sewing machine Janome and have seen many other regular domestic machines used. Be sure to get a leather needle for your sewing machine. They are available. You can even quilt on leather which I love and you can use your decorative stitches on your machine to decorate your items.
Hey Attila, when creating something like this (a cover or wallet for an object), do you need to over compensate your piece of leather to fit around the edges?
Hey Ben, yes, depending on the material and how tightly you want to fit the object, you’ll have to add a little extra around it. I don’t think there’s an easy one-size-fits-all answer for this one but I usually add a little extra (5-10mm) and trim around it before stitching. Using binder clips to work out where you want to stitch is a good way of testing how tight it’ll end up being. You could also stitch first and trim after. Usually the tension created by the material is enough to hold the object in place so it’s better to slightly oversize than having it too tight.


If you have a steering wheel cover,and it is very thick, how can you stretch it, to put it on. Is there an oil,or liquid i could use to stretch it, to pull it on the steering wheel ?
It’s most likely already sealed and treated, so I’m afraid that oils or water won’t penetrate it and make it stretch more. I don’t know if there is a way to make this go on much easier. Sorry
Usage. Leather tends to stretch to fit – just don’t secure the ends of the tightening cords too firmly, you will hopefully have slack to take up once it settles on.
Best thing to do is set it in the sun for a little while, then it will loosen itself up enough to let it stretch. Heat expands, cold contracts. Simple physics 😀 Your welcome. It works every time!
When leather heats up it dries out and shrinks… Simple what?
there is a product called “shoe stretch” for stretching shoes that don’t fit quite right. It should work on finished leathers.
I am glad that work top is as messy as mine
Haha it only takes 3 minutes to get this messy after I spent one day cleaning it up!
hi sorry to bother you you seem to know a lot about Leather work.
Can i ask could you advise what tools i need to get started i am disabled and very board stuck in day after day and would
like to have a go at this i am not rich but can afford a few tools but am really interested
Thanks
Hi Kevin,
it depends on what you’d like to make. You can start out with only a handful of tools (something to cut the leather, a couple of needles and some thread) and add more once you made a few things. If you’re having trouble with certain movements you might find it easier to cut leather with a rotary cutter. Using a stitching horse or stitching pony would also help to make it easier if you want to do a lot of sewing. Maybe you can find someone with a workshop who can help you to make one if you can’t buy one. There are plans available around the web. Hope that helps. Let me know if you’re stuck with anything and I’ll try and help out
thanks appreciate that will let you know how i go
What glue are you using? Can you use a good domestic sewing machine with old soft leather?
In this one I was using a generic PVA glue. You can use all kinds of contact adhesive, contact cement or similar. Most glues in a craft store will also do the job (check the label). I find that it’s cheaper to get them from the hardware store, though.
Not sure about the sewing machine. I have seen people using a domestic machine for thin leather but I haven’t tried it. If you’re making something small, you could try hand sewing?
I use a domestic sewing machine Janome and have seen many other regular domestic machines used. Be sure to get a leather needle for your sewing machine. They are available. You can even quilt on leather which I love and you can use your decorative stitches on your machine to decorate your items.
Hey Attila, when creating something like this (a cover or wallet for an object), do you need to over compensate your piece of leather to fit around the edges?
Hey Ben, yes, depending on the material and how tightly you want to fit the object, you’ll have to add a little extra around it. I don’t think there’s an easy one-size-fits-all answer for this one but I usually add a little extra (5-10mm) and trim around it before stitching. Using binder clips to work out where you want to stitch is a good way of testing how tight it’ll end up being. You could also stitch first and trim after. Usually the tension created by the material is enough to hold the object in place so it’s better to slightly oversize than having it too tight.