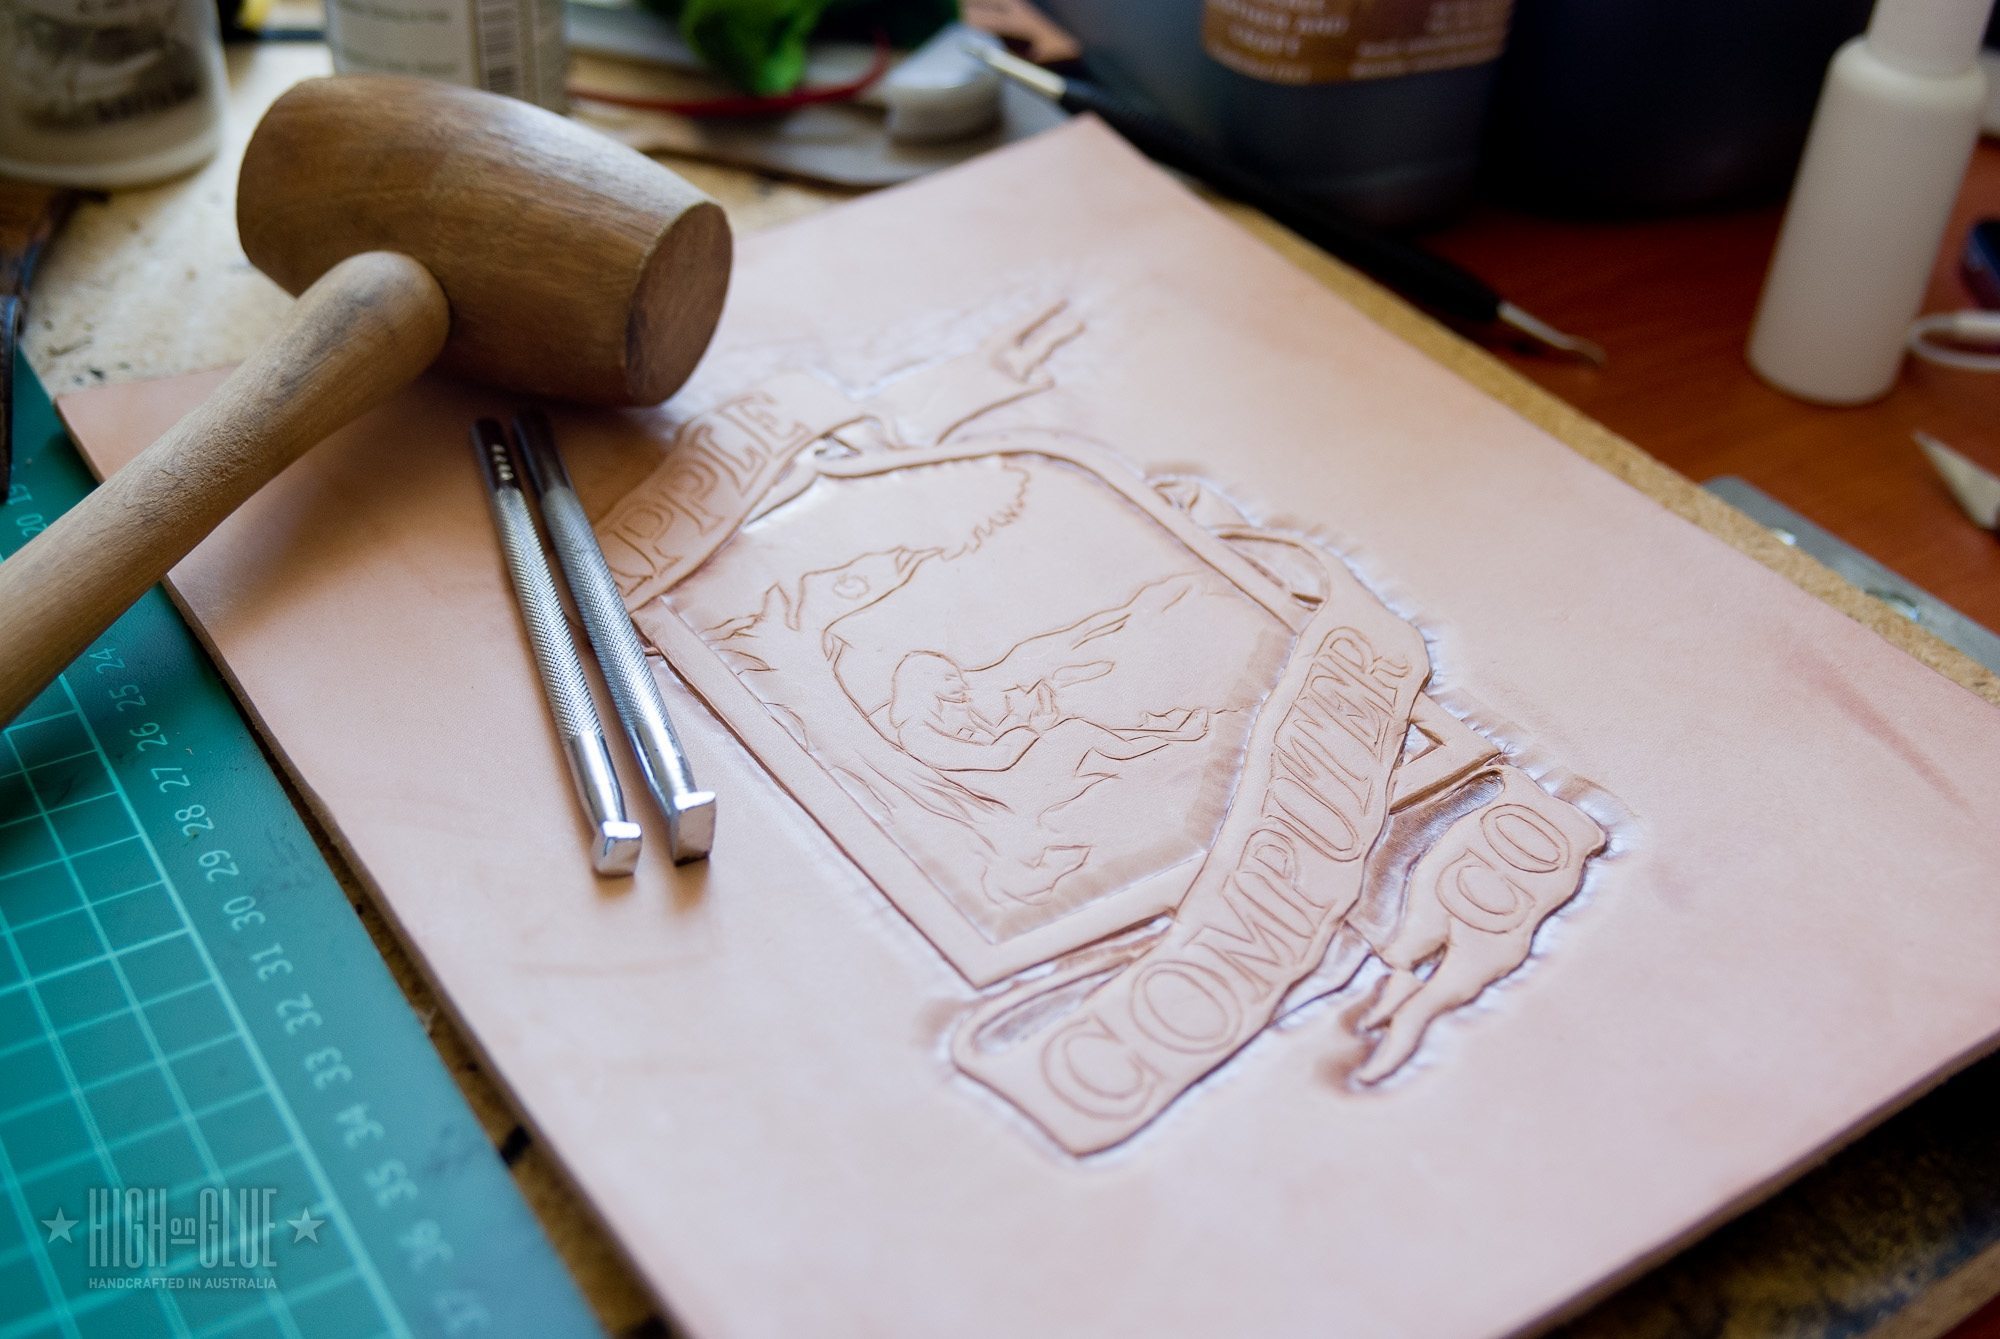
Start out by printing out the design you want to transfer to the leather. Moisten the leather using a sponge and let it sit for a few minutes until the surface is soft. You can place the printout on the leather and trace it using a modeler. If you decide to lift the paper to check if it transfers correctly, make sure the whole image is aligned properly when you put it back down!
Note: depending on the type of paper you use, it might tear when you trace it because of the moisture in the leather – so be careful not to apply too much pressure.
Carved details along the edges
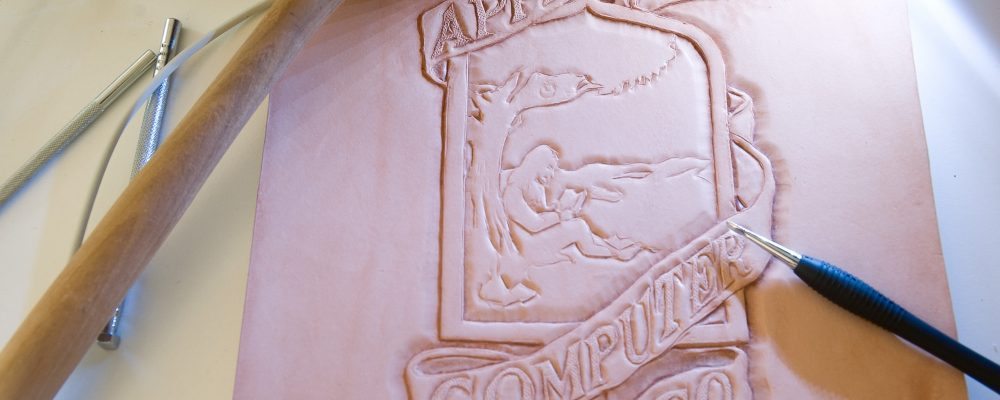
Use a swivel knife to carve into the leather along the lines you traced in the previous step. Try to stay as close as possible to the template but don’t carve lines twice.
Bevelled edges
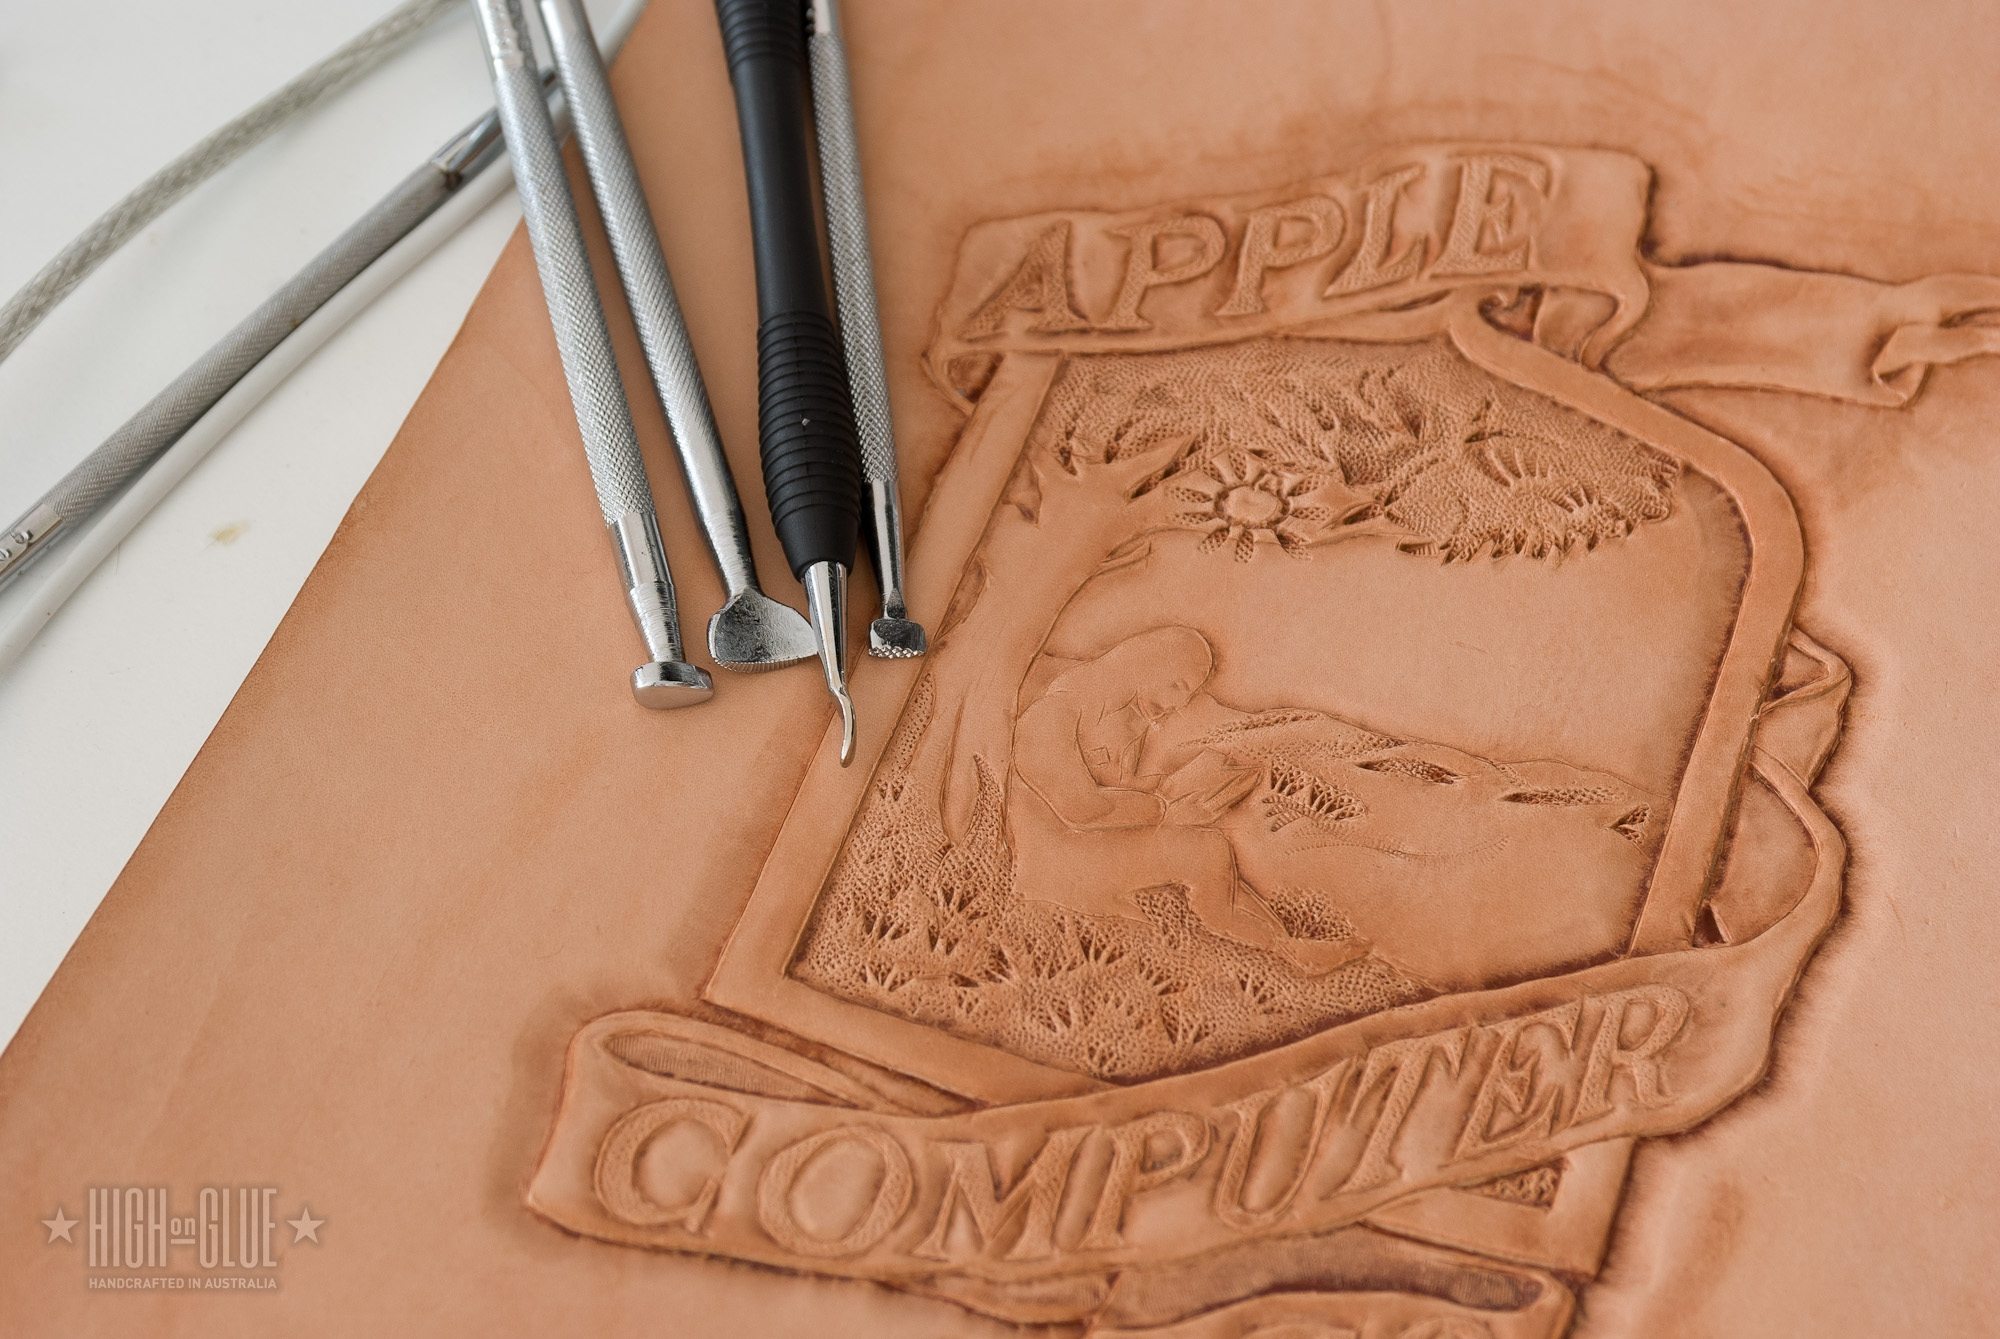
With a beveler stamp, go along the outer edges to give the logo its initial depth.
Added details on the letters
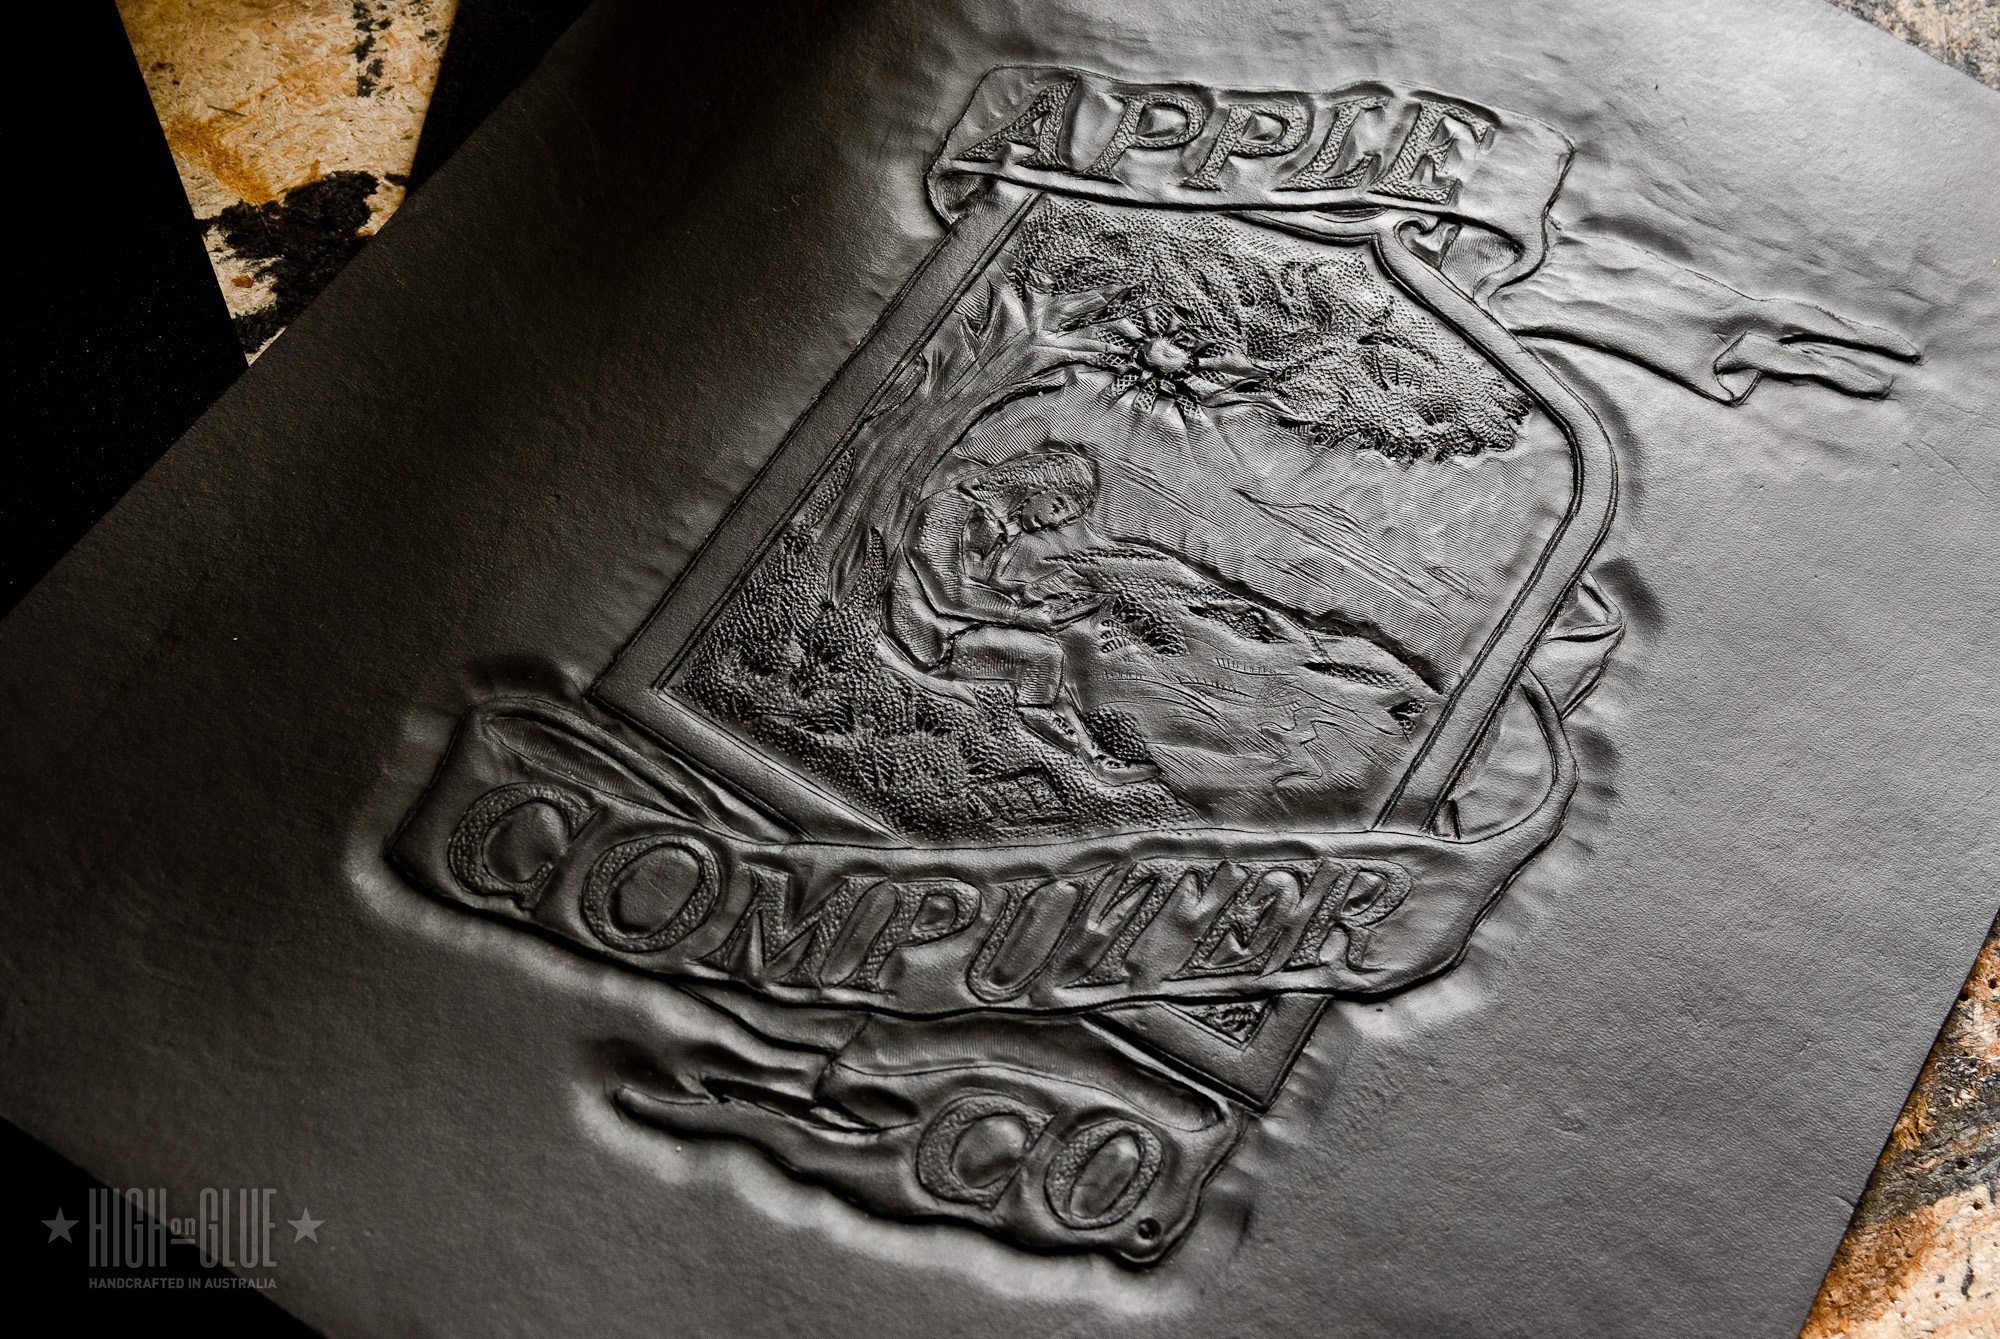
Next you can use a background stamp to add some texture to the letters. Normally this tool is not used this way, but that’s what I’ve got so I work with it.
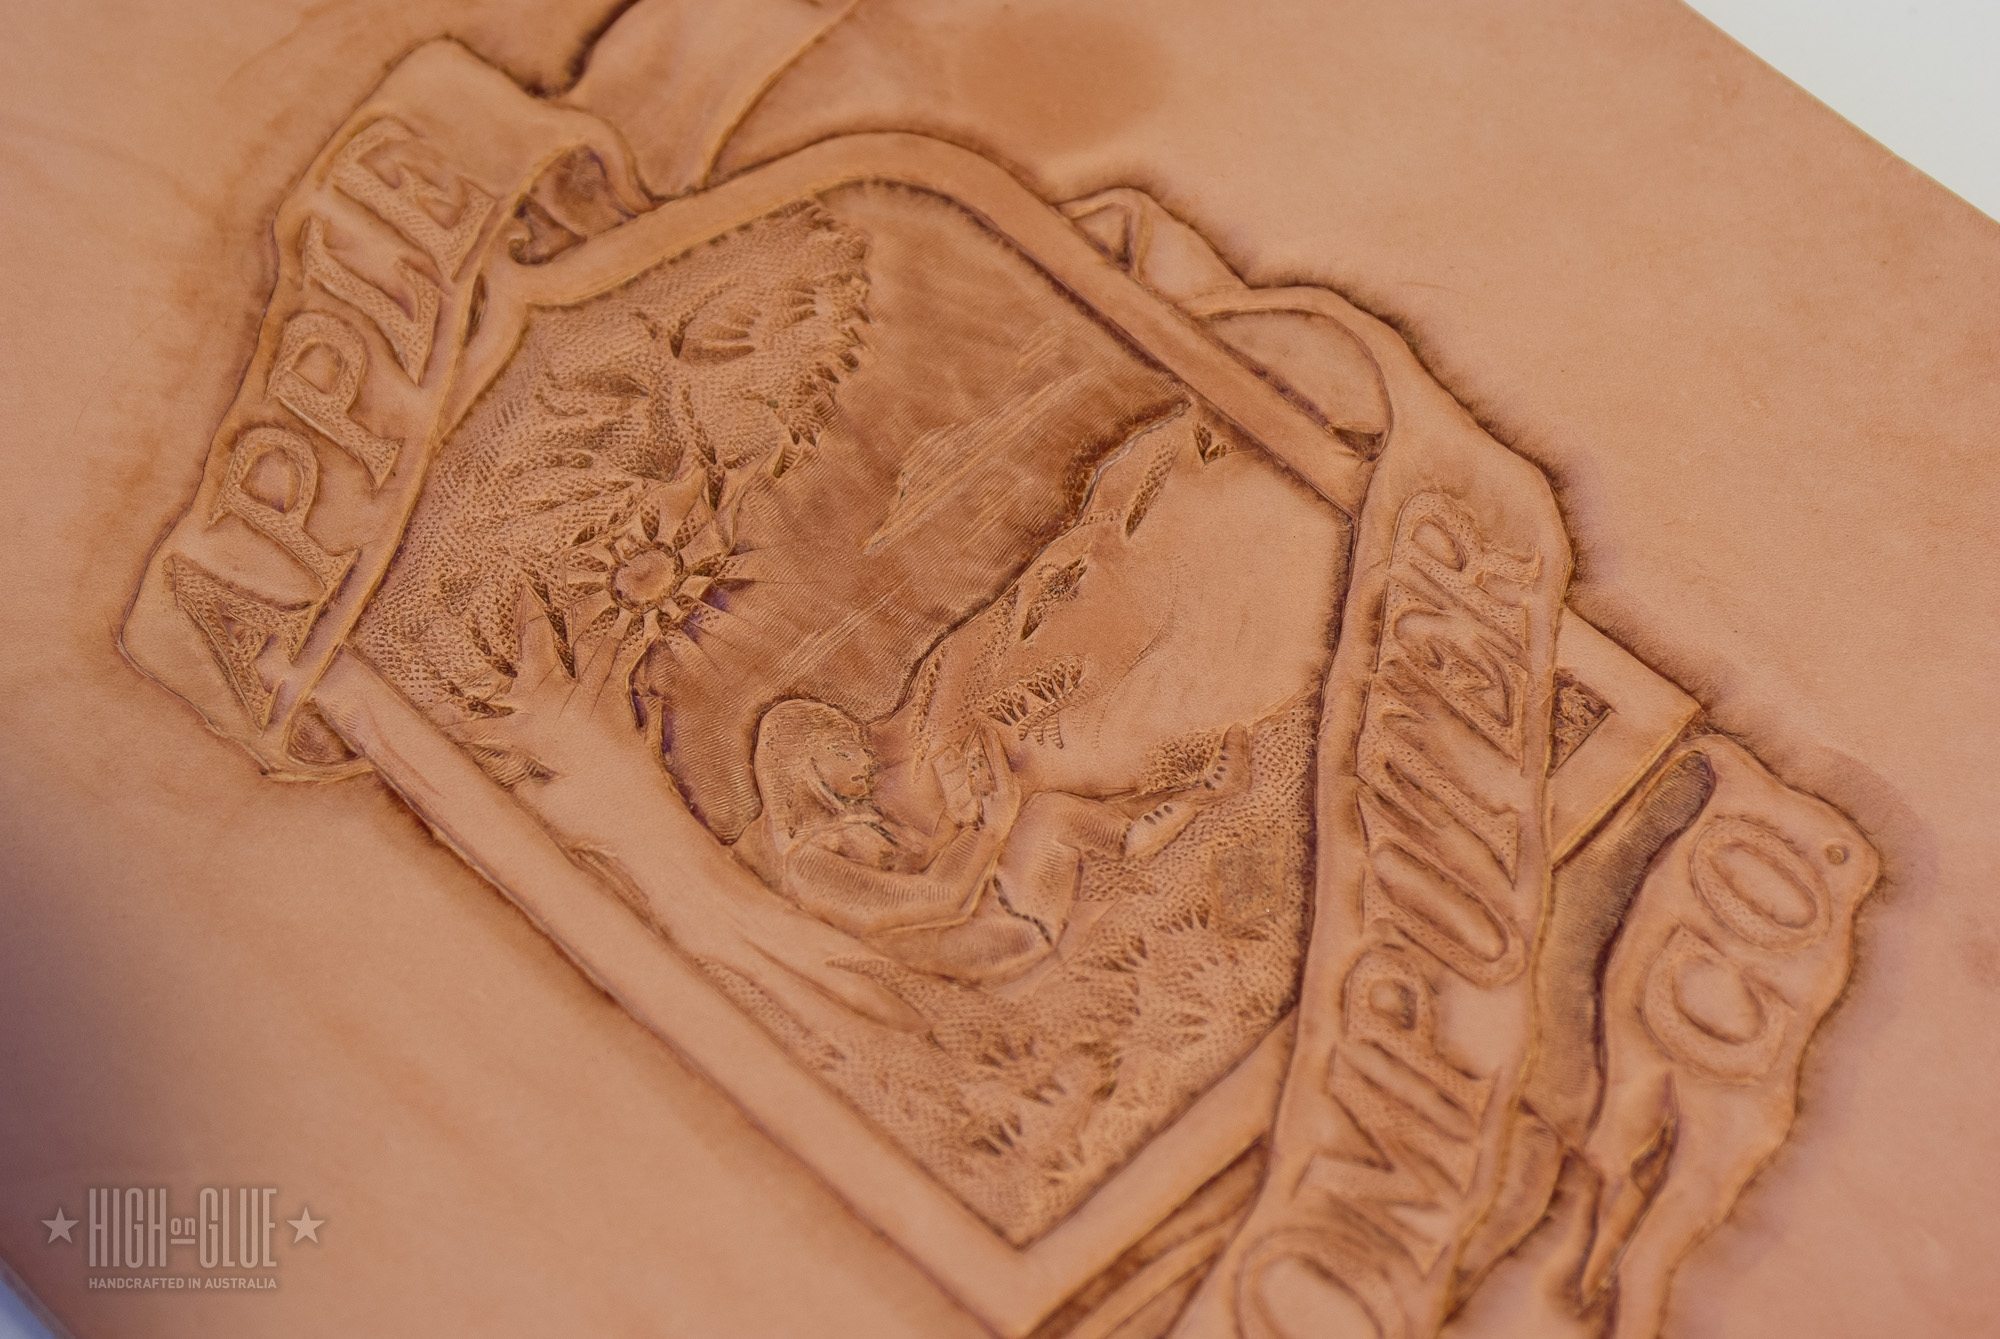
Also, you can see that I added some more beveling to the letters as well as the center of the logo but kept it not as deep as the outside.
Related
One thought on “Tutorial: Carving the original Apple logo into leather”


One thought on “Tutorial: Carving the original Apple logo into leather”